- Data Repair
- Data Recovery
-
Tips
-
 Hard Drive Recovery
-
Photo/Video Restoration
-
 Deleted Files Recovery
- Guide
- Support
- Shop
-
Search
- Store
[Full Guide] How to Undo ESD-USB and Get it Back to Normal?

ESD stands for electronic software delivery and a type of format for storage devices usually used to install Windows on a machine. It is the format required if you want to install Windows (including Windows 11) on a machine, and usually formats your entire drive, and then allocates a 32GB partition from your device to this format. If you have accidentally formatted your hard drive to this format and are now seeing the drive as an ESD-USB rather than an NTFS drive.
This article will show you how you can easily undo this. Furthermore, we will outline the best way for you to recover your data from a drive that has been converted to ESD-USB. Then, we will give you some tips to suggest how to protect yourself from this error in the future.

Recover Lost Data from ESD-USB Easily!
Anyrecover is a reliable and comprehensive data recovery tool that can help recover lost data from ESD-USB. Meanwhile, it can help recover data lost due to accidental deletion, formatting, virus attacks, or other reasons. It has a user-friendly interface, and the recovery process is straightforward, even for those who are not familiar with data recovery software.
Part 1: 3 Ways to Undo ESD-USB
There are 3 ways to convert your ESD-USB back to normal. Let's check them one by one.
Method 1: Format External Hard Drive
This method will erase the data stored on your hard drive but will return your hard drive to your desired format: NTFS. This format lets you use the external hard drive to store and transfer files.
To do this:
1) Open your File Explorer on Windows.
2) Locate the external hard drive.
3) Right-click on it and select Format.
4) Make sure the file system is set to NTFS and set the allocation unit size to 2048 bytes.
5) Tick "Quick format" and start the process.

You can use this device normally now.
Method 2: Undo ESD-USB via Command Prompt
Command Prompt is a tool that can be used to easily make changes to your machine and its peripheral devices using command lines rather than selecting options manually in settings. Open your File Explorer and locate the disk and make a note of the letter assigned to that drive. Then, open Command Prompt as administrator by right-clicking on the Windows button and selecting Command Prompt (admin).
Once this is done, type in the following command, where Y must be replaced with the letter assigned to your drive.
chkdsk Y: /f

Wait for the command to run. This should automatically find any issues with your external hard drive and fix them.
An alternative method to fix this trouble using command prompt is to format the external hard drive. Enter the following commands:
1) Diskpart
2) List disk
From the list of disks, find the disk number corresponding to your external drive.
3) Select disk X (where x is replaced by the number of your disk).
4) Clean
5) Create partition primary
6) Format fs=ntfs
7) Assign

This will manually format your external drive back to NTFS.
Method 3: Create a New Volume
Creating a new partition will also erase all your data, so ensure that if you want to save the data stored on this drive, you recover it by the method listed in part 2. Since ESD-USB formats your drive and then only allocates 32GB of your total capacity to this format, you can allocate the remaining capacity to the NTFS format.
1) Open Windows Disk Management by searching for it in Windows.
2) From the list of drives, find the external hard drive and right-click on the unallocated space.
3) Click on "New Simple Volume" and enter the size of this partition (we suggest you enter the maximum disk space).
4) On the next screen, choose to format this volume and then select the NTFS format.
5) Enable "Perform a quick format" and continue.

Once this has finished, you will be able to use your hard drive as a storage device once again.
Part 2: How to Recover Lost Data from ESD-USB [Video Guide]
If you've made it this far, then congratulations! You have successfully undone ESD-USB on your external hard drive and have restored the partition back to normal. So what's next? Oh yes, you'd have to get your lost data back.
Is it possible, though? Of course! But you're gonna have to act fast and perform the data recovery on your device if you want to increase the success rate of recovering all the lost files. At this urgent moment, you'll need a professional external hard drive recovery tool to get the job done nice and quick. Meet AnyRecover, a powerful and reliable data recovery software that allows you to recover the lost files on your hard drives at home in just 3 simple steps.
Check out this video about how AnyRecover can help you restore the lost data on your external hard drives:
- To avoid the lost data being overwritten, make sure you don't do any data transfering with your external hard drive before the recovery.
AnyRecover's Key Features:
- Specially designed to recover over 1000 different file formats of photos, videos, documents and emails, etc.
- Blazing fast file scanning process with advanced data scanning algorithms.
- User-friendly software interface which is suitable for beginners. Help you recover deleted data easily.
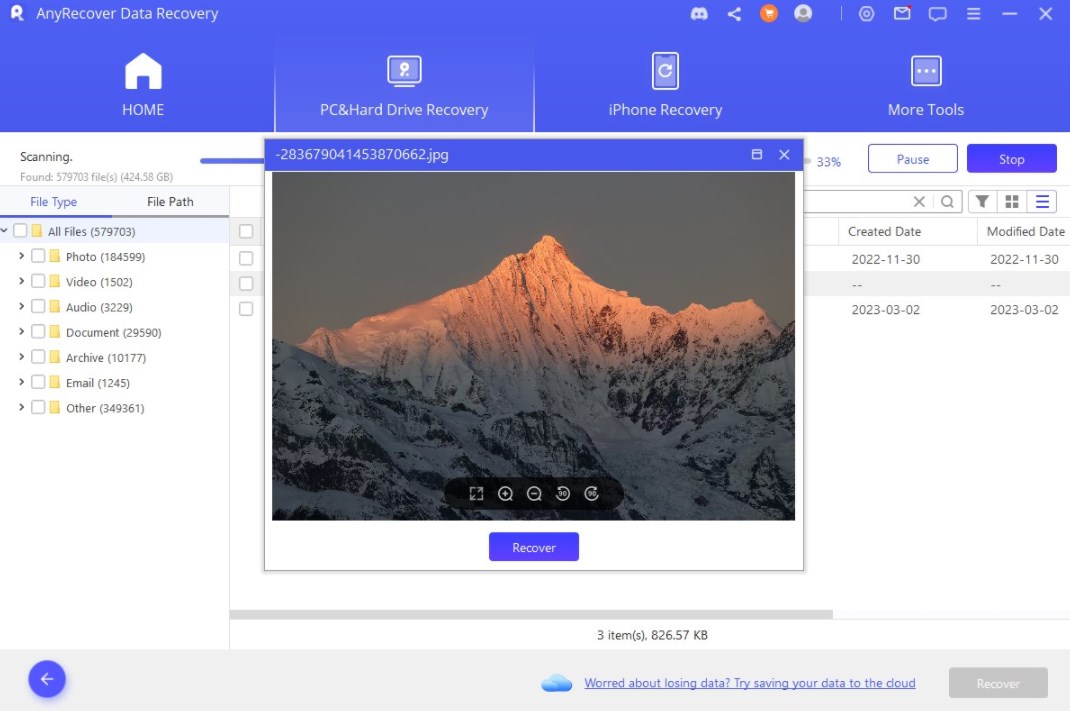
- Preview selected files before recovering them.
- Supports all Windows and macOS versions and iOS devices.
It's very convenient to recover lost files from ESD-USB situation using AnyRecover. Simply follow these 3 steps:
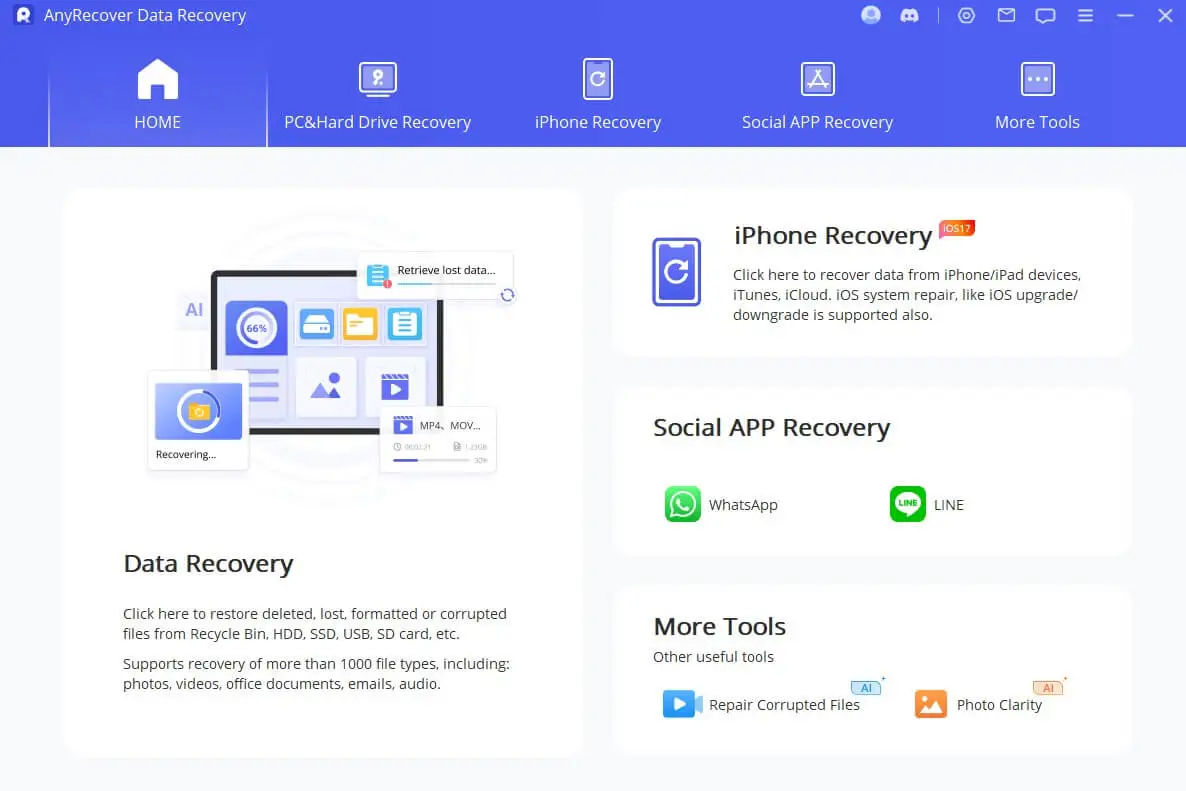
Step 1 Connect your external storage device to a computer. Launch AnyRecover, and select "Data Recovery". Choose your device under "External Removal Devices". Then, click on the "Start" button.

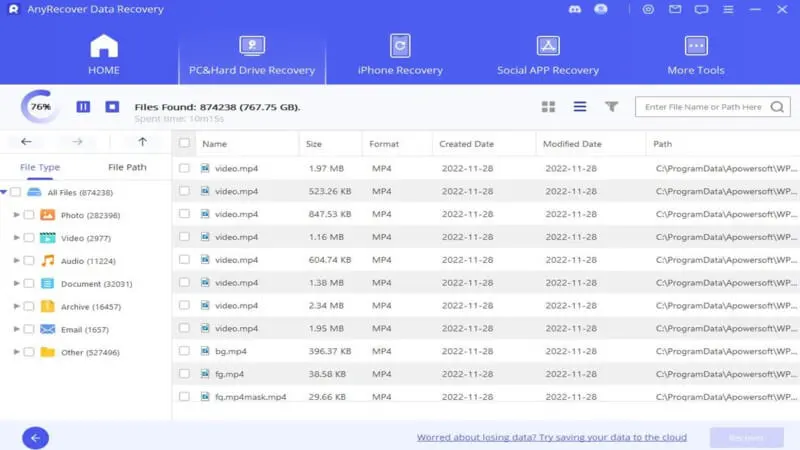
Step 2 Scan completed! All of the files found (deleted or available) from your external hard drive will be displayed. Preview these files and select the ones you would like to recover.
Step 3 Click "Recover" and there you go, you've got your files back!
Part 3: How to Avoid Data Loss Before Conversion to ESD-USB
Some Windows users don't know that the Windows Media Creation Tool will delete everything stored on the external storage devices. Therefore, in order to avoid data loss before your external storage devices have been converted to ESD-USB, we prepare some useful tips for you.
Tip 1: Back up Data to Somewhere Else
The first thing you can do to protect yourself from data loss in the future before your external hard drive is accidentally converted to ESD-USB is to create a backup of the drive. You can do this in many ways, and some of these are listed below:
Copy the files from your external hard drive to another external drive.
Copy your files to another location on your PC, such as a folder in documents.
Set up automatic cloud backup with OneDrive or Google Drive every time you plug in your drive to your PC. (Due to the limits on the storage capacity of these cloud storage services, it is recommended that you only use this method if you are not using much space on your external hard drive).
Tip 2: Use a Blank Hard Drive to Create a Bootable Media
Almost always, this issue arises because the user was attempting to use their hard drive to create a bootable media drive for Windows. Although you could use your main external drive, you will be at the risk of losing your data. Therefore, we recommend that you do not use this drive but instead an alternative one, such as a USB with 32GB of storage or more. This will prevent you from facing this error on your main external drive.
Conclusion
We hope this article has shown you how you can undo the ESD-USB error, and recover your files from a device that has accidentally been converted to the ESD-USB format. Download AnyRecover right now to save your files!
Related Articles:
Rated successfully!
You have already rated this article, please do not repeat scoring!
![]()
![]()
![]()
![]()
![]()
![]()
![]()
![]()
![]()
![]()
![]()
![]()
Copyright © 2026 AnyRecover. All rights reserved.
Time Limited Offer
for All Products
Not valid with other discount *