- Data Repair
- Data Recovery
-
Tips
-
 Hard Drive Recovery
-
Photo/Video Restoration
-
 Deleted Files Recovery
- Guide
- Support
- Shop
-
Search
- Store
[Windows & Mac] How to Convert Bootable USB to Normal

![]() OmarShahaltough
OmarShahaltough
i didnt pay attention to the disclaimer telling that my usb data will be deleted when isntalling windows install media tool. so all my data got deleted and my usb was converted into a bootable usb. i immediately downloaded a file recovery program. but how do i return the usb to a normal usb with its full capacity.
From Microsoft Community
You may need to make your USB pen drive bootable to install a new operating system or applications on your Windows or Mac laptops. However, we frequently fail to return them to their original state, rendering them useless for daily needs.
If you also have no idea how to convert bootable USB to normal, this is the right place for you. This article shows you how to convert bootable pen drive to normal in Windows and Mac through various approaches. Check and try the methods below!

How to Convert Bootable USB to Normal on Windows?
When the Windows system breaks down and you cannot boot the PC, creating a bootable USB can assist you in entering the WinPE environment. After the purpose is achieved and the problem gets solved, you may want to restore the bootable USB to its normal condition so that you can use it as a storage device. Here we will demonstrate two methods for converting bootable USB to normal in Windows. Choose the one that suits you the best.
Method 1: Format Bootable USB in File Explorer
It is the most common method taken by users to return their USB drive to its original state. Let's take a look at how it functions.
-
1. Press Windows + E keys to open File Explorer. Under "This PC" section, find the bootable USB flash drive.
-
2. Right click on the bootable USB flash drive. From the various options, click on "Format".
-
3. Choose the file system NTFS or FAT32 and the allocation unit size (as per your need). You can also choose to restore the device's default settings by clicking "Restore device defaults".
-
4. Finally, hit the "Start" button.

Method 2: Unboot Bootable USB Using Disk Management
Through formatting the bootable USB drive in File Explorer, now your USB drive can be used for normal storage needs. Apart from this, with Disk Management, you can do the same thing.
-
1. Use Windows + R hotkey to open Run window. Type "diskmgmt.msc" into the search box hit the Enter key. This will bring up the Disk Management window.
-
2. Now you need to locate the bootable USB drive. Right click on it and select the option "Format…".
-
3. Select a correct file system and choose "Default" for the allocation unit size. Then press the "OK" button.

Method 3: Convert Bootable USB to Normal via Diskpart CMD
Unboot bootable USB using Disk Management is a quick solution, but it may not always work to convert bootable USB to normal. But don't worry, we still have the Diskpart command.
-
1. Press Windows + R keys to open Run window. Type "Diskpart" into the search box and press the Enter key.
-
2. Now type "list disk" and hit Enter.
-
3. Then type "select disk X" (replace X with the disk number of your bootable USB drive).
-
4. Type "clean" and press Enter, which will wipe all your Bios boot files present on the USB drive.
-
5. Now type "create partition primary" into your window and press Enter key. This will help create a partition on this bootable USB drive.
-
6. To continue, type "format fs=fat32 quick" or "format fs=ntfs quick" based on the file system you prefer. Again, press the Enter key.
-
7. When you've completed all the steps, write "exit" and press Enter.


USB Data Recovery
Transform Your USB Without Losing Data: Anyrecover has Got Your Back When Converting Bluetooth USB, Rescuing Your Data Along the Way!
How to Convert Bootable USB to Normal on Mac?
Disk Utility is a tool that may be used to clean up your hard drive. In macOS, you may quickly format or restore your USB drive to its original state using the Disk Utility app. You just have to take a few simple steps now.
-
1. Open the search box by pressing command + space keys, then type "Disk Utility" to look for this app. The Launchpad icon on your Dock can also be used to launch the Disk Utility software.
-
2. Now, from the left-hand sidebar in Disk Utility, choose the bootable USB flash drive and then click the "Erase" button.
-
3. Choose "MS-DOS (FAT)" as the format and then confirm this formatting. That's it.


Tips: What to Do if Data Loss Happens During USB Converting?
All the methods that have been detailed above can be used to convert bootable pen drive to normal. While the steps seem to be not complex, accidents may still happen from time to time, among which data loss is a nerve-wracking one.
During the process of converting bootable USB to normal, you may lose some of your crucial files. As sometimes the files are so indispensable that you cannot afford to lose them, seeking to recover the lost data becomes the top priority. In this scenario, you can rely on some third-party data recovery tool, such as AnyRecover.
AnyRecover is a highly professional data retrieval software that specializes in recovering lost files from device formatting, accidental deletion,partition loss, disk damage, virus attack, formatted USB Device and so on. Therefore, for any lost data during the converting process, AnyRecover is absolutely capable of tackling the problem for you in an easy but efficient way.
AnyRecover can not only help you recover deleted data but also provides a new function called "Ai repair" to fix corrupted documents, images, and videos. With this one-stop data recovery tool, you won't have to worry about losing data or being unable to open damaged files.
Features of AnyRecover:
- Fully compatible with various Windows, Mac versions and iPhone devices.
- Easily rescue data lost in any scenario with high success rate.
- Recover data from any storage device: hard drives, USB flash drives, SD cards, SSDs, cameras, etc.
- Support 1000+ types of data: photos, videos, office documents, archives, and more.
- All-round and deep scan digs out all the lost data, preparing for the last recovery process.
- Preview function and selective recovery makes AnyRecover convenient to use.
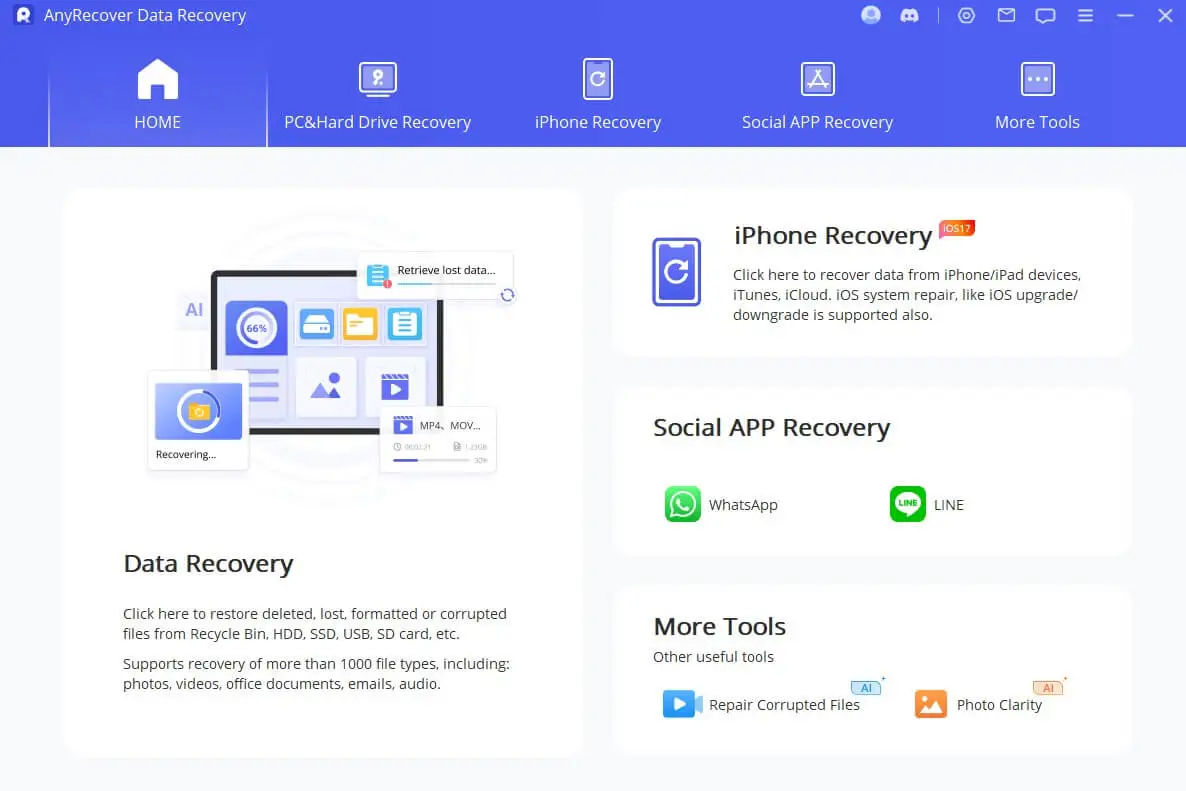
Step 1. Get AnyRecover downloaded and installed. Connect the USB device from which you want to recover data to your computer. Then launch AnyRecover and choose the right location.

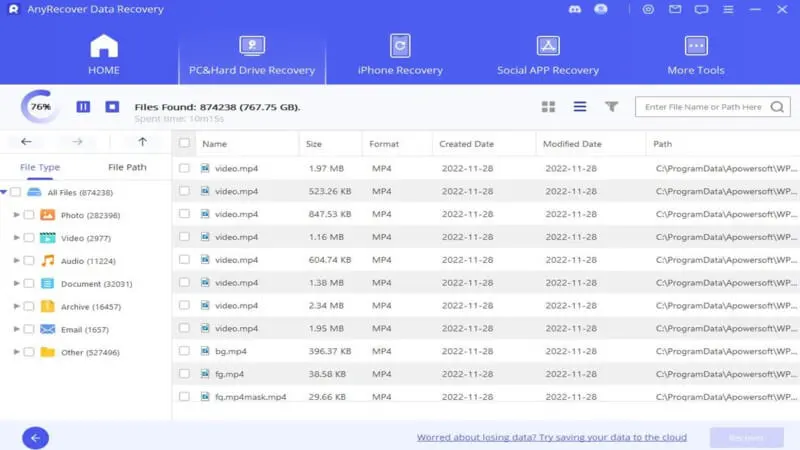
Step 2. Now AnyRecover will start the scanning process. You can pause it anytime once you've found the files you need.
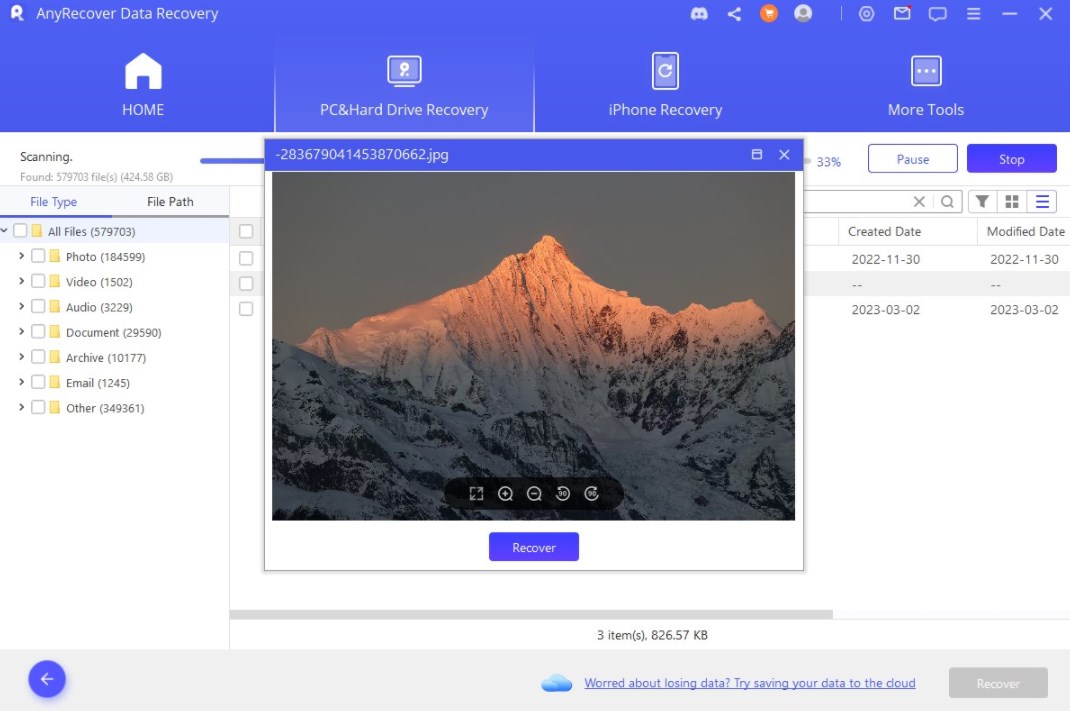
Step 3. Preview the scanned files and select the ones you want to get back. Click the "Recover" button afterwards.
Your best data recovery specialist-AnyRecover
3-for-1 Deal: All-in-one data recovery software to recover & repair data from Windows, Mac systems and iPhone devices.
Part 4. Faqs about Bootable USB
Q1: Can I remove the bootable USB?
Windows will copy all of the files it requires from the USB drive to your hard drive early in the process. You may usually remove it after the first reboot begins. If the installation procedure needs it again, it will prompt you to provide it.
Q2: Can bootable USB be exFAT?
If NTFS is not available and FAT32 is not enough, exFAT is taken to fill the void. It is more potent than FAT32 but not as powerful as NTFS. Besides, it's fairly compatible with a variety of media devices, such as televisions and mobile devices. With an exFAT bootable USB device, you can manage up to 64 ZB (zettabytes), although it isn't as widely supported as NTFS.
Conclusion
Covering over 500+ use cases, it's the one-stop software that empowers users to tackle almost any data loss and repair issue, all within a single download.
-
73 M+
Satisfied users
-
63 M+
Countries served
-
190 +
Software downloads
Related Articles:
Rated successfully!
You have already rated this article, please do not repeat scoring!
![]()
![]()
![]()
![]()
![]()
![]()
![]()
![]()
![]()
![]()
![]()
![]()
Copyright © 2026 AnyRecover. All rights reserved.
Time Limited Offer
for All Products
Not valid with other discount *