How to Delete and Recover GarageBand Files on Mac?
GarageBand files are native to the Mac OS. They are heavy and consume a lot of space on the hard drive since they’re uncompressed and contain audio. Therefore, it’s extremely difficult to transfer them using the internet. Their large file size often makes it difficult to retain these files on the system, and that’s where the need to delete these files comes into the picture. In this post, we’ll discuss how to delete and recover GarageBand files on Mac. Read further to learn more.
1 How Can I Delete All GarageBand Files?
Whether you’re not too fond of music or using other advanced music productions app, you can delete all GarageBand files effortlessly. Follow these steps to delete all GarageBand files:
Open “Applications” from the top bar on your Mac’s home screen after which the “Finder” window will open.
Then drag the “GarageBand” icon to the system’s trash folder.
If you’re prompted to enter your system password, do so to delete all GarageBand files.
Once done, right click the “Trash” icon on the Dock and click “Empty Trash.”
Then on the top bar, click “Go,” followed by “Go to Folder.”
Now open the “Application Support” folder and delete GarageBand files.
Then open the “Caches” and “Preferences” folders inside the library one after the other and clear all GarageBand files.
Once again, right click “Trash,” followed by “Empty Trash.”
2Best Way to Recover GarageBand Files on Mac
If you accidentally delete your GarageBand files or lost unsaved files, there are some ways to recover them. We will introduce you the best and easiest way here.
AnyRecover is an efficient, elite, and advanced software for recovering deleted, missing, or lost files and data from your Mac, PC, storage devices, or hard drive. You can make the most of iMyFone AnyRecover to recover deleted GarageBand files on Mac in just a few quick steps.

1,000,000 + Downloads
Recover lost files easily and quickly, no matter the data was deleted, formatted or corrupted.
Supports more than 1000 file formats, such as photos, videos, audios, documents, etc.
Supports a variety of storage devices including hard disks, external drives, USB drives, SD cards, as well as virtual disk drives.
An advanced deep-scan algorithm provides up to 98% recovery rate.
Offers a free trial before you make the decision for final purchase.
How to use iMyFone AnyRecover to restore deleted GarageBand files?
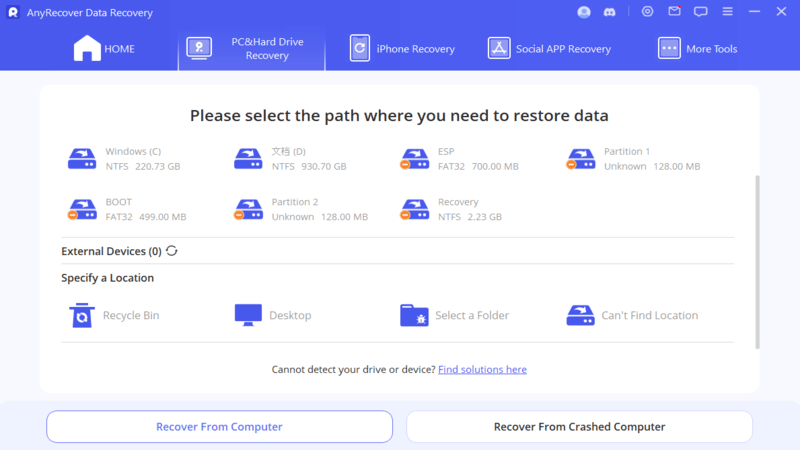
Step 1. Launch iMyFone AnyRecover on your Mac. Pick “Deleted Files Recovery” if you are unable to find deleted GarageBand files using other modes.
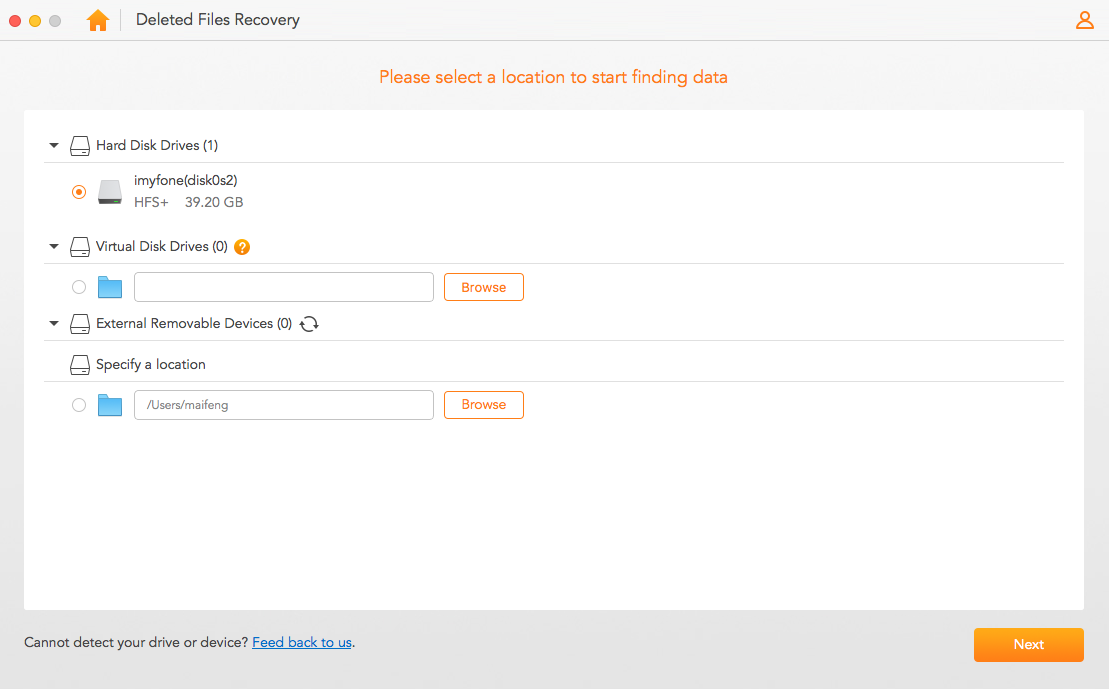
Step 2. Pick a “Location” to search for the deleted GarageBand files. Then hit the “Next” button.
Step 3. Pick the “File type” which will be “Audio” in this case and click “Scan” to initiate the scanning process.
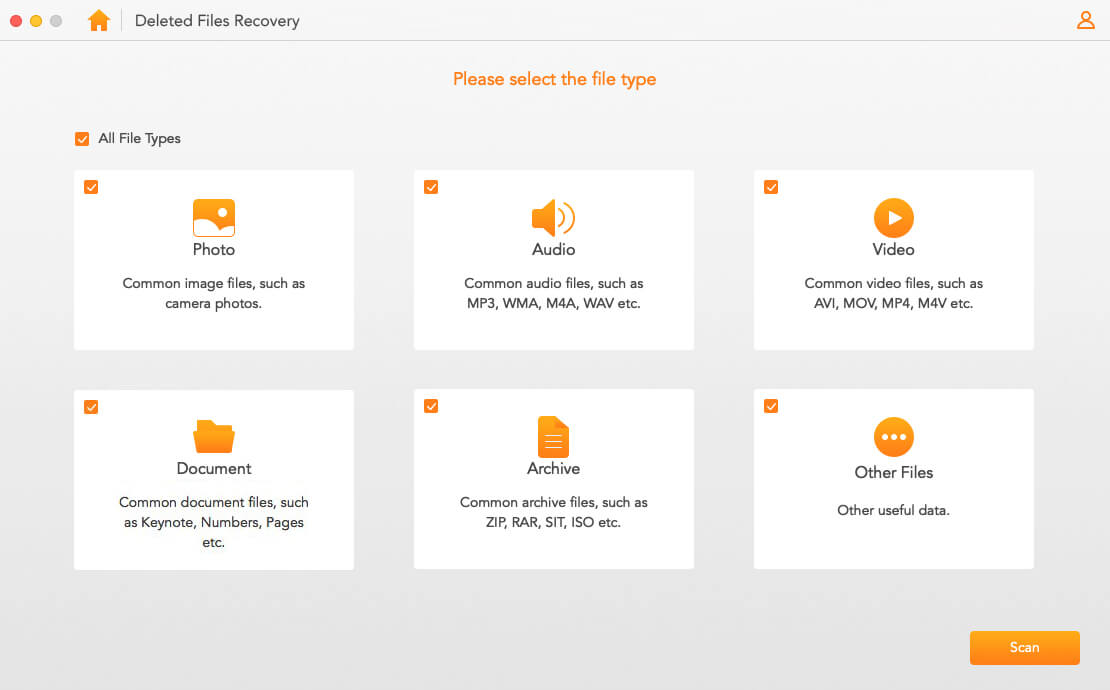
If the simple “Scan” functionality is unable to find your deleted files, you can use “Deep Scan” which may take a little more time.
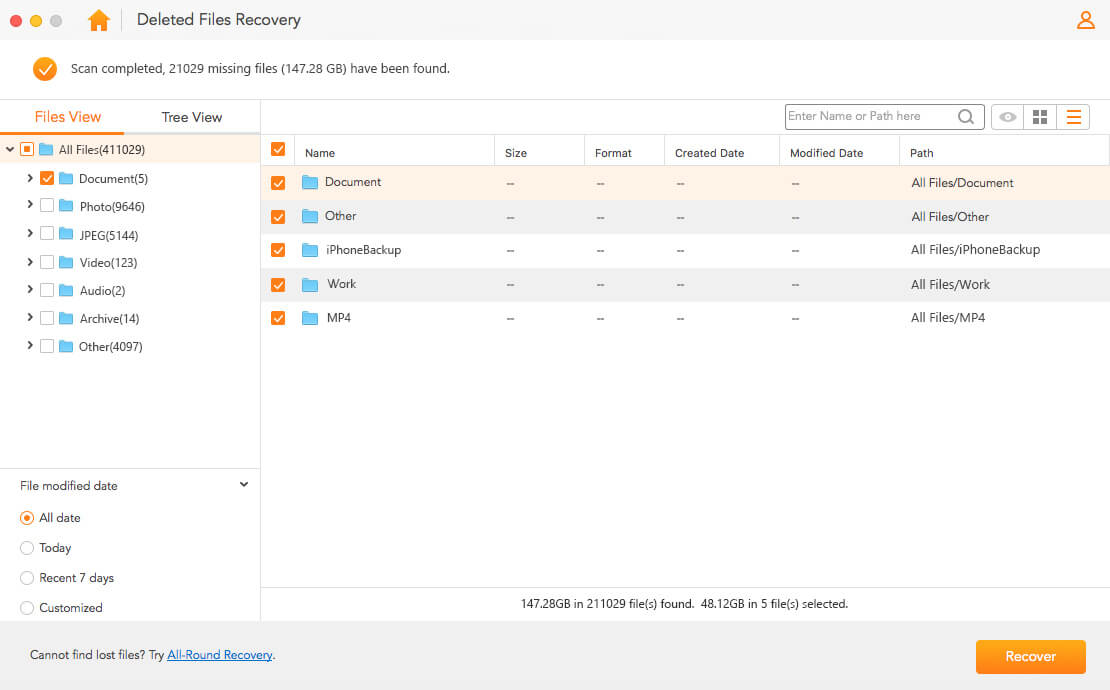
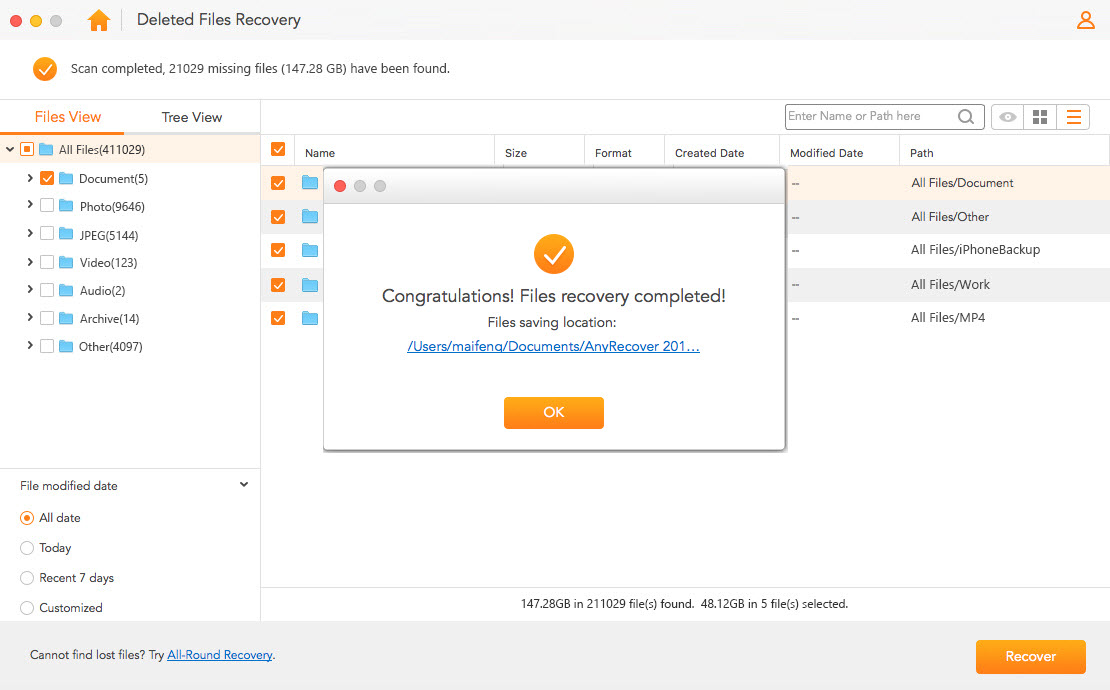
Step 4. Once the scanning is complete, the files found by AnyRecover will get displayed on the screen. Preview and retrieve lost data as you like.
3How to Recover Unsaved GarageBand Files with GarageBand AutoSave
Follow the steps below to recover unsaved GarageBand files on Mac using GarageBand AutoSave:
Step 1: Launch GarageBand on your Mac.
Step 2: Command-click the GarageBand project that is giving an error.
Step 3: Pick “Show Package Contents.”
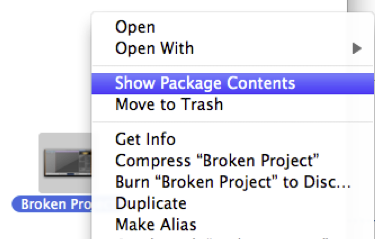
Step 4: Then click “Media.”

Step 5: In the next step, copy all .aif files from the package and save them to any location of your choice.
Step 6: In the last step, import .aif files into a fresh GarageBand project.

4 How to Recover GarageBand Files Using Time Machine
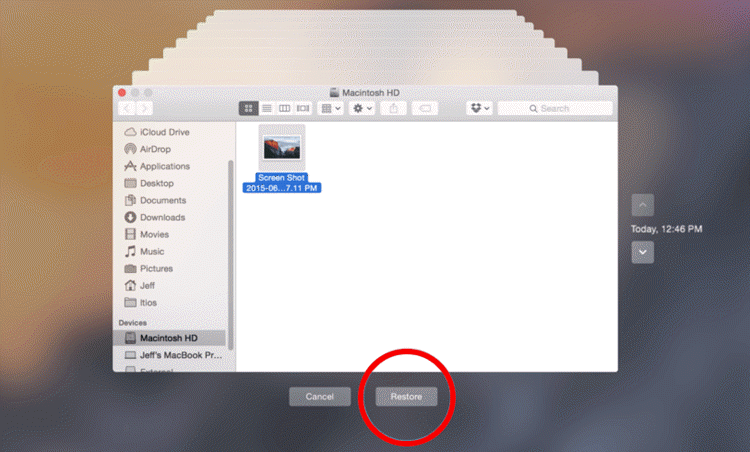
Step 1: Enter Time Machine using the menu bar shortcut. Alternately, you can also enter Time Machine using System Preferences.
Step 2: Once you’ve entered Time Machine, open the folder that may have contained your deleted or lost GarageBand files.
Step 3: Using the dial on the right, travel back to the time when you want to restore the files.
Step 4: Once you’ve found the file, click “Restore” to recover the individual file from Time Machine backup.
So, the next time you delete your GarageBand files and suddenly realize that you need one of them urgently, you can use the methods mentioned in the article to recover the files. Even though we’ve discussed 3 methods above, recovery using iMyFone AnyRecover can be your best bet. The file recovery process is simple, quick, and does not require any technical knowledge. We hope you found the article helpful. If you have any questions in mind, let us know, and we’ll get you the answers from our experts as soon as possible.
Time Limited Offer
for All Products
Not valid with other discount *

 Hard Drive Recovery
 Deleted Files Recovery


