How to Fix ‘Non-System Disk or Disk Error’ & Recover Data
A "Non-System disk or disk error" message appears when non-bootable storage devices are present in your computer. The computer tries booting from any of the storage devices included in the boot path of the computer during its start-up operation but cannot find a bootable operating system on them, hence the appearance of this error message.
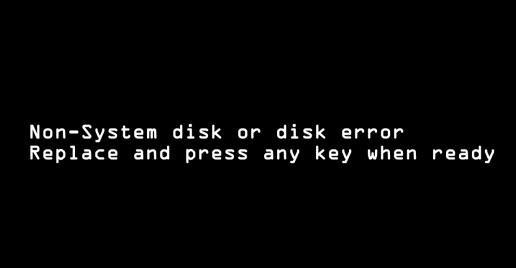
Apart from the presence of non-bootable files in the storage devices, the "Non-System disk or disk error" message can also appear due to malfunctioning of IDE cables connecting the storage disk (HDD) to the computer or the HDD itself not being configured. Since the computer tries to boot firstly from the HDD, it encounters a problem and then displays the "Non-System disk or disk error" message.
Part 1. Solutions to "Non-System Disk or Disk Error"
This error is resolvable and one or more of the following methods can be used. If one does not work, just move on to the next until the error is finally fixed.
1. Remove All Non-System Disks
A very simple way to fix the "Non-system disk or disk error" is to check and eject all the CD/DVD disks, floppy disks, and USB flash drives which are non-system disks from the computer. After that restart your computer and see if this method works.
2. Set Right the Boot Sequence
Here you will need to access the basic input/output system (BIOS) to make sure that the disk containing the boot files is set to the first spot of boot order. Otherwise, the boot sequence of your computer would need to be changed.
3. Check HDD's IDE and SATA Cable
Inspect the IDE or SATA cable of your HDD to ensure that the cable connecting the HDD to the motherboard is securely fastened. Once confirmed, restart your device to check if the non-system disk or disk error has been resolved. Or you can check the cable in another computer to see if it's damaged.
4. Remove and Reinstall the Hard Drive
A non-system disk may result from jarring of the computer. Such occurrences lead to a very poor connection between the hard drive and the computer and thus leads to a non-system disk or disk error. Follow the steps below:
Step 1. Shut OFF the computer. (Remove the battery if it's a laptop.)
Step 2. Take out the hard disk (HDD/SDD).
Step 3. Fix the hard disk back into the computer.
Step 4. Fix the battery back into the computer if it's a laptop.
Step 5. Power ON the computer.
5. Perform Startup Repair
A startup repair can be defined as a repair initiated and carried out when a computer is about to start up with the use of windows installation disk. The essence of the repair is to check for faults and errors within the whole computer system and fix it or at least suggest solutions. During startup repair, a non-system disk or disk error is mostly fixed. The following steps should be taken to do that:
Step 1. Disconnect all external devices connected to the computer and insert a windows installation disk.
Step 2. Enter the BIOS as explained in the setting of the boot sequence and allow your computer to boot from the installation disk.
Step 3. Wait for files to load from Windows. From the Windows setup/installation interface, choose the language and other preferences, then click Next.
Step 4. Click on the Repair your computer.
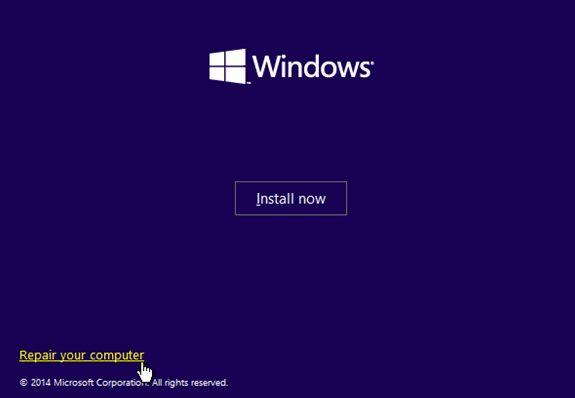
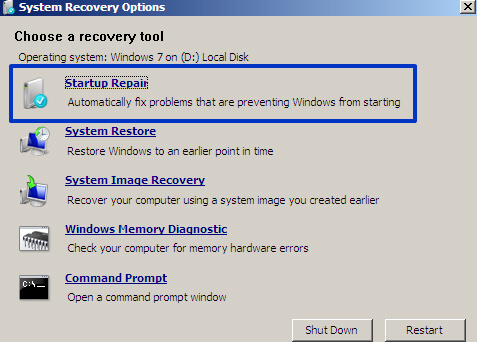
For Windows 7, wait for the System Recovery Options to get your operating system ready. When your operating system is listed in the box, select it and click Next to address any Windows startup issues. You'll then be asked to choose a recovery tool. Select the first one called Startup Repair. Wait patiently while this tool is looking for issues and trying to solve them.
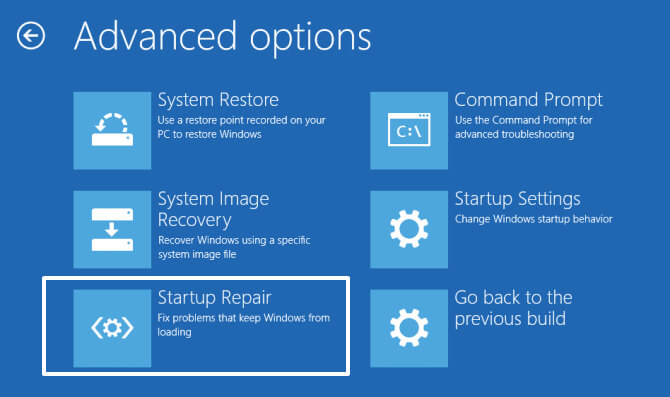
For Windows 10 computers, go to Troubleshoot –> Advanced options –> Startup Repair. Choose a target operating system and start diagnosing the system. Windows will try to resolve any detected problem automatically or recommend a solution.
Step 5. Lastly, click Finish to restart your computer.
6. Replace Hard Drive and Reinstall OS
If the methods above fail to fix the error, then maybe you need to consider replacing hard drive and reinstall OS. And to avoid losing vital data and information, it’s absolutely necessary to extract all the data kept in the hard drive before. And here we recommend a good tool – AnyRecover.
Part 2. Extract Data From Crashed Computer With AnyRecover
AnyRecover is a top class, effective and specialized program capable of recovering your erased, missing or inaccessible files from your PC, Mac, hard drive, or other data storage devices. It has unique and distinctive features that makes it stand out:
AnyRecover's Key Features:
- AnyRecover is specially designed to recover over 1000 different file formats of photos, videos, documents and emails, etc.
- Advanced data scanning algorithms. Data scanning speed of AnyRecover is blazing fast, allowing you to scan and look for hidden files quickly.
- User-friendly software interface which is suitable for beginners. Help you recover deleted data easily.
- AnyRecover offers a FREE Trial with 8 files for free recovery with no size limit. You could also preview your data before recovering it. You could also preview your data before recovering it.
- Supports Windows 11/10/8/7/XP and MacOS.
To extract data from the non-bootable computer, follow the steps below:
Step 1. Prepare for Computer Crash Recovery
Another working computer and a blank USB drive or CD/DVD is required for this.
Step 2. Create a Bootable Drive
1. Download, install and launch AnyRecover on the working computer. Choose "Recover from crashed computer". and click on "Start".
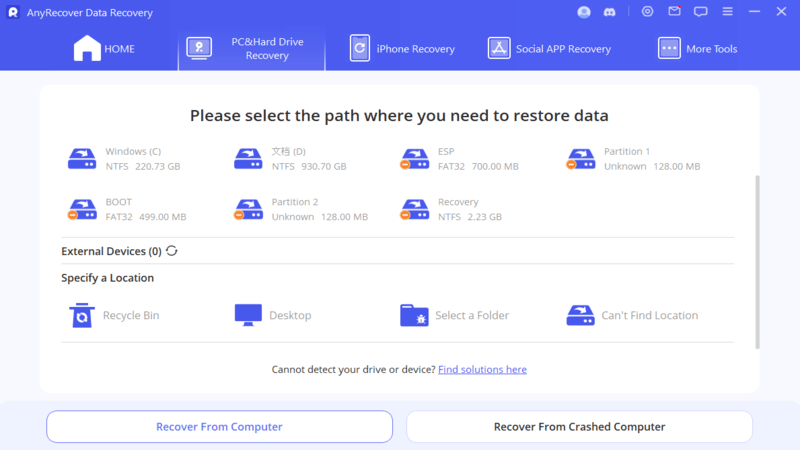
When you get a message saying "create a bootable drive to recover data when Windows system is unable to launch", make sure the USB drive or CD/DVD is connected to the working computer. Hit "Start" then.
2. From the two options available for creating a bootable drive, select one and click "Create".
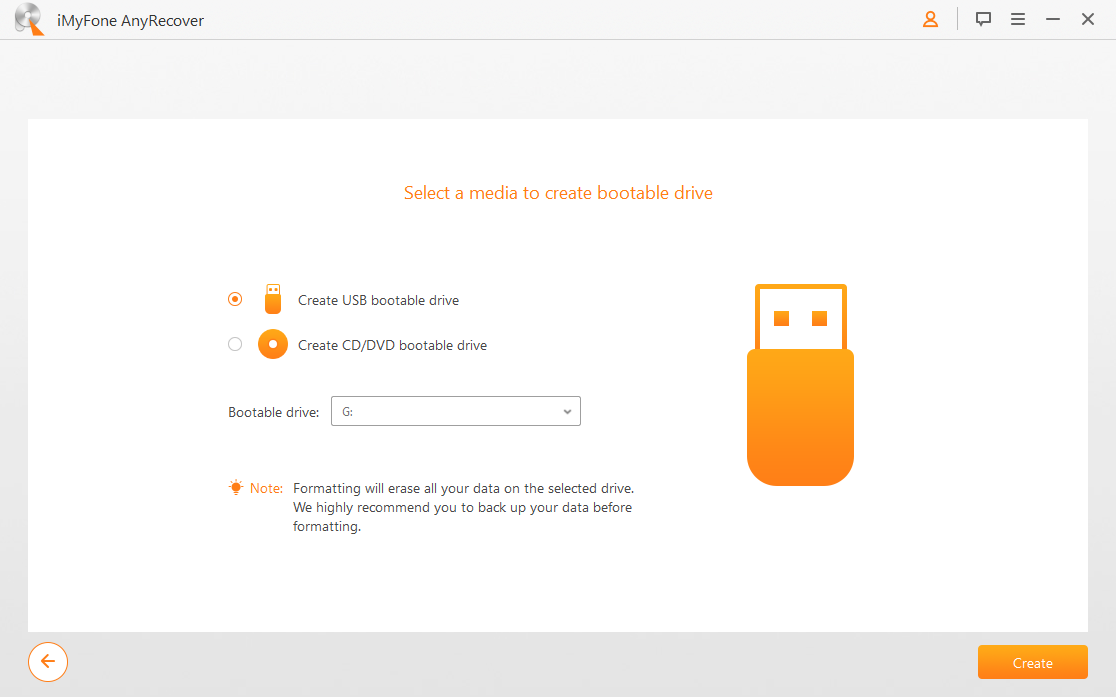
3. A message will appear and alert that this operation will format your USB drive. Click "Format", then this program will start to download firmware and format the USB drive or CD/DVD.
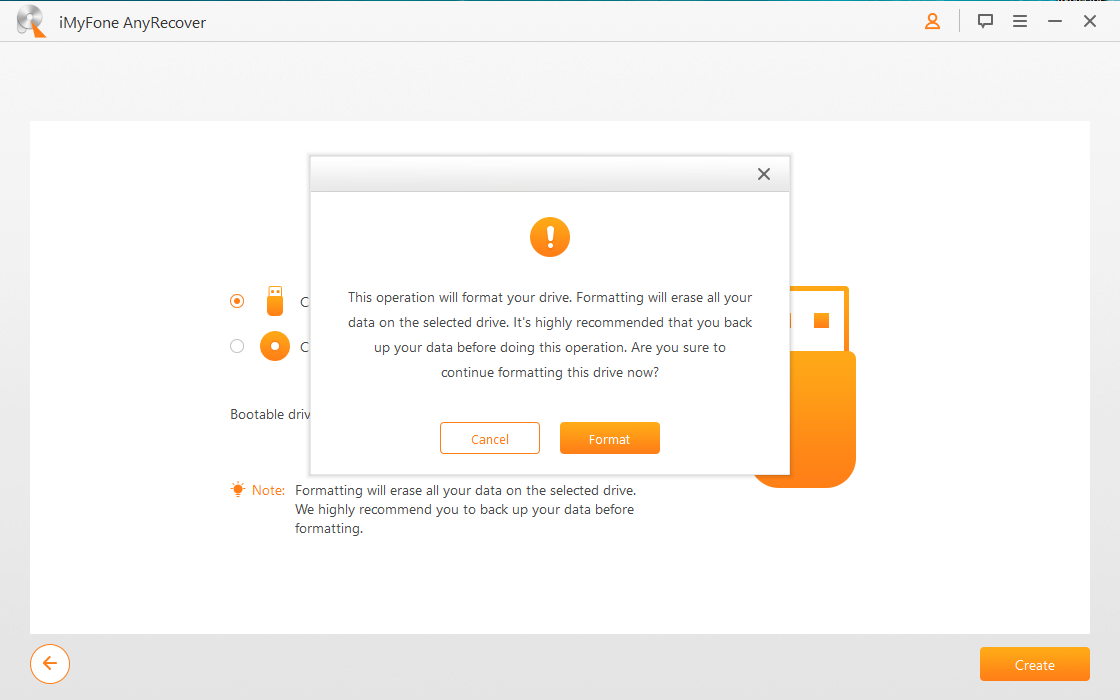
4. When the formatting is completed, it will start to create bootable drive. Once done, you can move on to restart your crashed computer following the instructions shown on the interface.
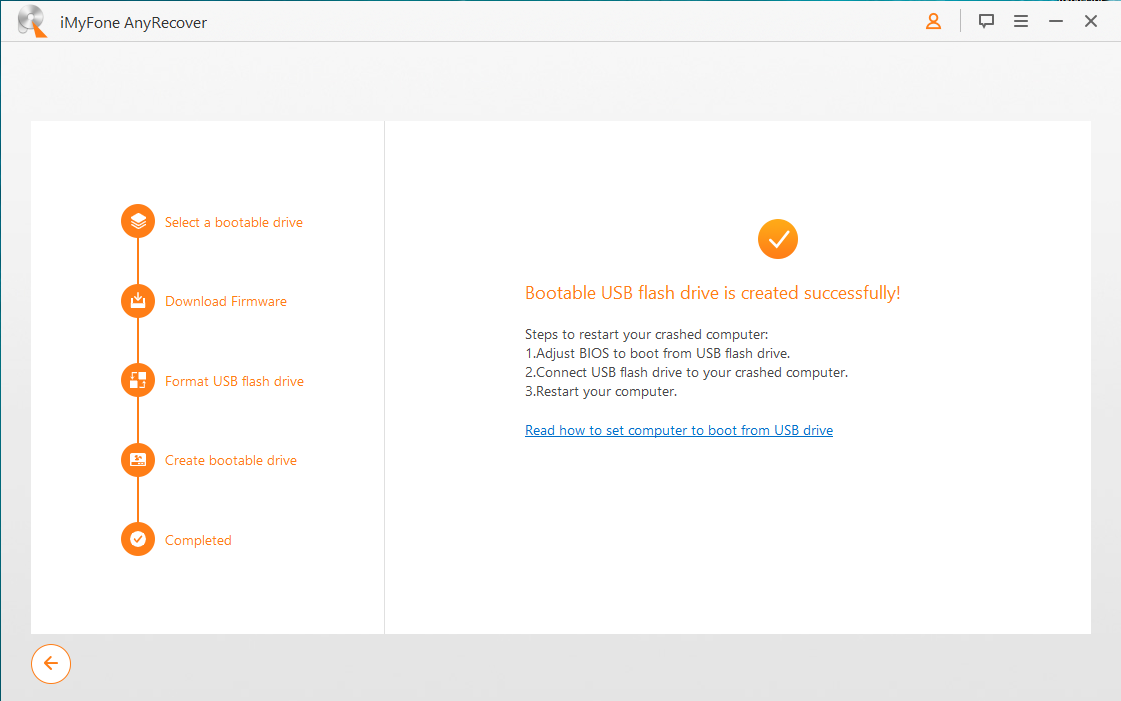
Step 3. Extract Data from Crashed Computer
1. Select a location where you want to get back your data, and click on the "Start" button.

2. AnyRecover will then begin to scan the location for all data recoverable.
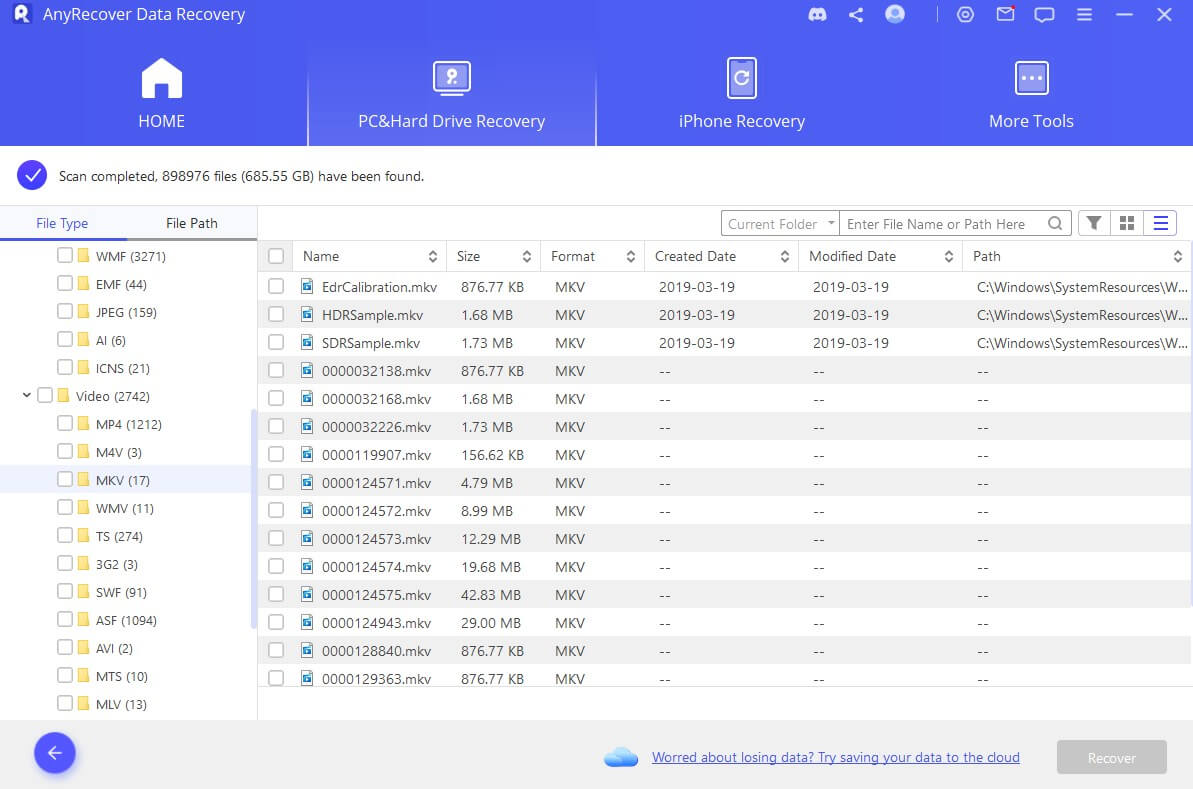
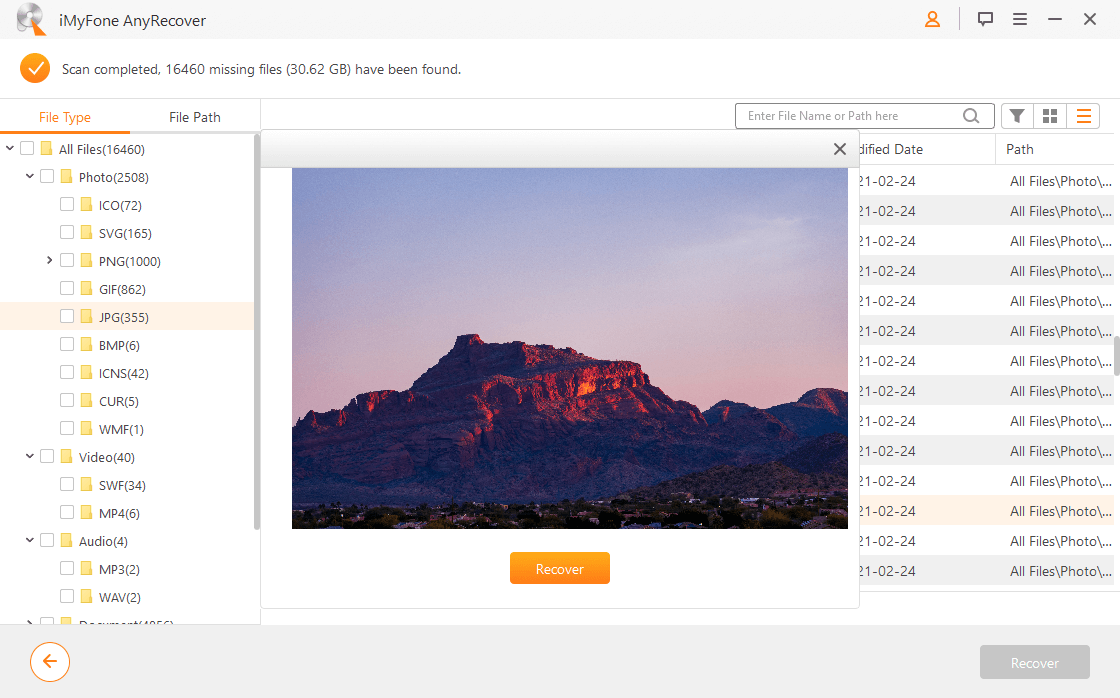
3. As soon as it is done, preview the files and select what you want to recover.
Conclusion
In conclusion, the "Non-System disk or disk error" message appears when start up computer and once it appears, there is no way you can boot your Windows. And because you cannot access your operating system, even when you restart your computer, the error will still show up. The problem will continue to occur until you are able to find a solution to it.
With all the above methods, you can try to fix the non-system disk or disk error. And in the process, you might need to extract your data from the crashed computer before losing it. In this case, AnyRecover is undoubtedly the best choice. To perfectly recover your data, AnyRecover spares you from any data loss worries, not only in face of the non-system disk or disk error, but also in various other scenarios. Don't hesitate and give it a try!
Time Limited Offer
for All Products
Not valid with other discount *

 Hard Drive Recovery
 Deleted Files Recovery
