- Data Repair
- Data Recovery
-
Tips
-
 Hard Drive Recovery
-
Photo/Video Restoration
-
 Deleted Files Recovery
- Guide
- Support
- Shop
-
Search
- Store
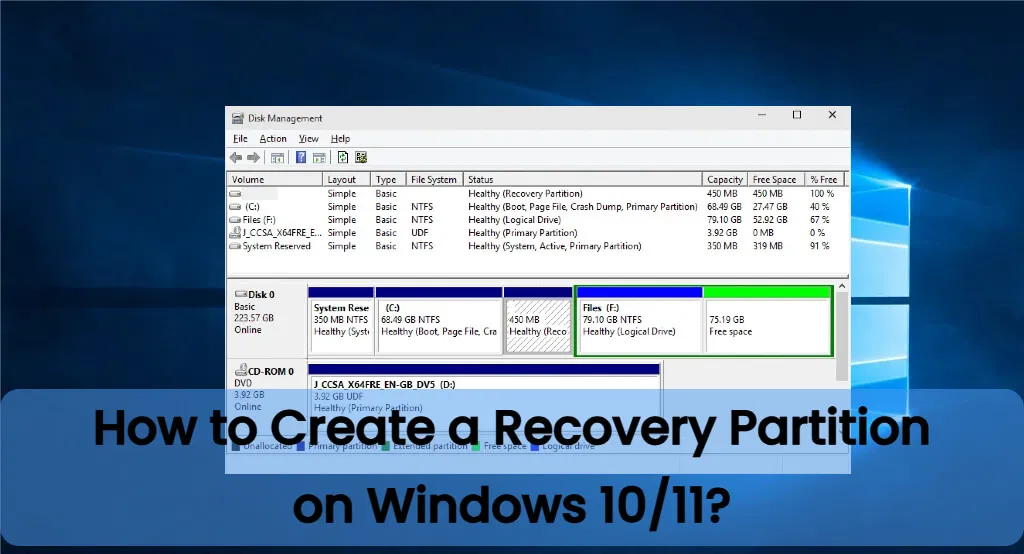
How to Create Recovery Partition on Windows 10/11? (Tips&Tricks)

Windows 10/11 can encounter issues such as failure to boot or improper booting due to failed updates and program installation problems. A recovery partition is a segment of the disk drive on a computer designed to store a system image, backup files, and recovery guidance files.
As a user of Windows 10/11, it's crucial to be prepared for worst-case scenarios. In this article, we'll demonstrate how to create a recovery partition on Windows 10/11.
Part 1.Why Do You Need a Windows Recovery Partition?
The Windows recovery partition will help you get your software programs, device drivers, and system settings back quickly and easily. Besides, it can eliminate some unnecessary expenses - for example, the cost of purchasing a new operating system or taking the computer to a repair shop.

Here are some reasons why a Windows recovery partition is essential:
System Recovery: It allows you to restore your operating system to its original state in case of system failures, crashes, or corruption.
Data Protection: Helps safeguard your data by providing a dedicated space to revert to a stable system configuration.
Convenience: Simplifies the process of troubleshooting and fixing issues without needing external recovery media.
Efficiency: Speeds up the recovery process compared to reinstalling the OS from scratch.
Prevention: Helps prevent data loss and prolonged downtime by providing a quick restoration option.
Having a recovery partition ensures your system can quickly recover from various issues, maintaining productivity and protecting your data. Additionally, computer systems do run into errors from time to time. In such a situation, the recovery partition will come to the rescue.
Part 2.How to Create Windows 10 Recovery Partition?
To create a recovery partition on Windows 10/11, follow the steps below:
- Click the Windows start key and type Recovery Drive. Under Settings, click Create a recovery drive. Your computer may ask you whether you would like to open Recovery Media Creator. Click Yes.
- Make sure that you check the "Back up system files to the recovery drive" checkbox and then click Next.
- Connect a USB drive to your PC, and then select Next.


Part 3.How to Recreate Windows 10 Recovery Partition?
If you've accidentally deleted your Windows 10 recovery partition mistake, you can manually recreate it but this method may require you to know how to use the reagentc command. By recreating the Windows 10/11 recovery partition, you can restore the recovery environment needed for system repairs.
Here are some key points you need to note when recreating:
- Backup Data: Always ensure data is safe before modifying system partitions.
- Administrative Access: Requires Command Prompt with administrative privileges.
- Avoid Manual Errors: Be cautious while typing commands to avoid errors.
This method ensures you have a functional recovery partition for future system repairs and troubleshooting.
Part 4.How to Use a Created Windows Recovery Drive to Restore a PC?
If you notice that your Windows 10/11 PC is not running as it should, you can use the recovery partition to restore the PC. Below, we have outlined the steps you need to follow:
-
Connect the recovery drive to your PC.
-
Turn on your computer and choose Troubleshoot from the options prompted.
-
Choose Recover from a drive. If you uncheck "Back up system files to the recovery drive" when you created the recovery partition, there won't be the option of "Recover from a drive".
This option will delete all your personal data and apps.

-
After selecting the recovery option in step 3 above, you will need to wait while your system gets restored from the recovery partition.
Part 5.How to Recover a Lost Windows Recovery Partition?
Due to circumstances that are out of your control, your recovery partition may get lost. If this partition happens to get lost, you shouldn’t panic. You can recover the partition using a tool known as AnyRecover.
As the best lost partition recovery software, AnyRecover lets you recover lost partitions really easy. No technical knowledge is required at all. It is also extremely quick. You should have your recovery partition back within a few minutes. AnyRecover is capable of recovering files lost via other methods. It can recover files lost via accidental deletion, virus or malware attacks, OS crash or OS installation error, accidental formatting, damaged hard drive, etc.

Video guide about how to recover lost partition
To get back your lost recovery partition, follow the simple 4-step instructions below:
Step 1. After installing AnyRecover on your PC, launch it and select a disk under the “I can't find my partitions” tab.

Step 2. Select the partition you would like to get back. Click "Scan".

Step 3. The program will start an all-round scan on your selected partition.
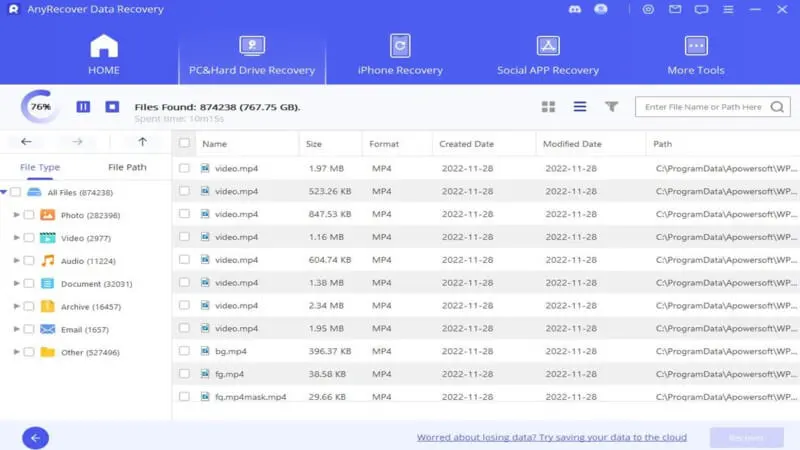
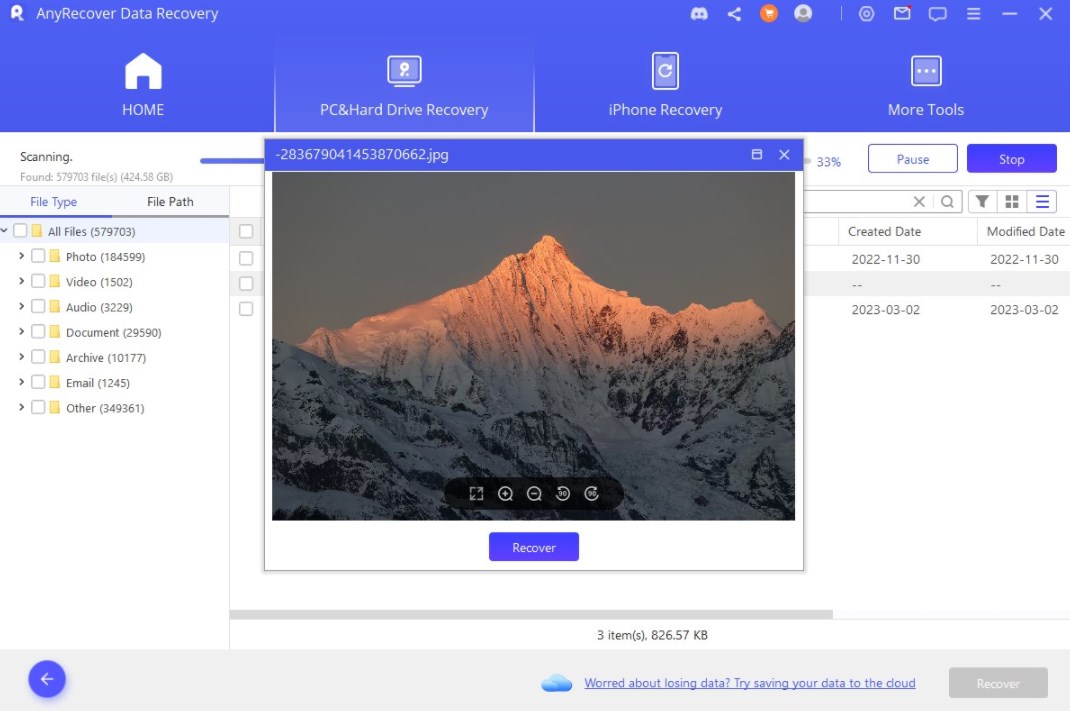
Step 4. AnyRecover will locate the file types and display them. You can preview these files by simply clicking on them. Check the files to get back and click "Recover".
Conclusion
This article explores the importance of Windows recovery partitions and provides a guide on how to create recovery partitions on Windows 10/11. Additionally, it explains how you can utilize third-party software, like AnyRecover Data Recovery, to recover a lost recovery partition. This serves as a valuable resource for Windows users aiming to enhance system stability and ensure data security.
Key Features:
- The tool will help you get back over 1000 types of data.
- Get back the data from hard drive, flash drive, mobile phone, camcorder, and other storage media.
- Extremely easy to use. What you need to do is selecting, scanning and recovering.
- Offer a free trial version to let you recover 8 files before paying.
- Support all Windows OS (including the newest Windows 11) and MacOS.
Related Articles:
Rated successfully!
You have already rated this article, please do not repeat scoring!
![]()
![]()
![]()
![]()
![]()
![]()
![]()
![]()
![]()
![]()
![]()
![]()
Copyright © 2026 AnyRecover. All rights reserved.
Time Limited Offer
for All Products
Not valid with other discount *