How to Use Windows File Recovery on Windows 10/11? [Full Guide]
Despite the top-level features of the Windows OS, users have found it hard to recover deleted data over the years. Thankfully, to counter this problem, Microsoft has recently released its recovery software called Windows File Recovery. However, with this being a relatively new feature, there have been clamors for a guide on how to use the Windows File Recovery tool.
This has brought about this well-detailed guide that touches everything you need to know about this tool, starting from where and how it can be downloaded to how you can use it to recover deleted files on Windows 10/11.
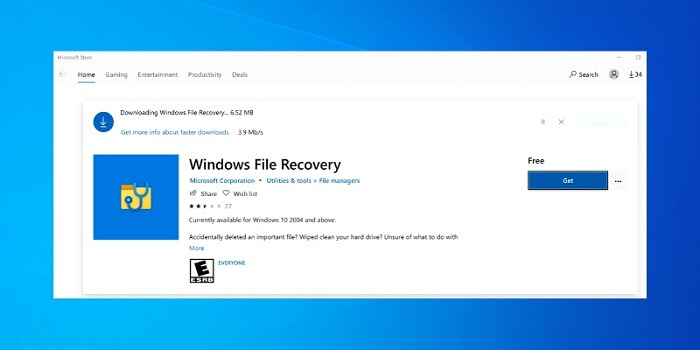
Part 1: An Overview of Windows File Recovery
The Windows File Recovery (WinFR), as the name implies, is a free data recovery tool developed by Microsoft for the retrieval of deleted files on Windows PC.
It is a command-line utility application without a graphical user interface. Below are some of the main features of this Windows file recovery tool.
1. Prerequisites
This Microsoft file recovery tool doesn't support all Windows operating systems. It has been made available since the Windows 10 version 2004 (build 19041.0) was released in May 2020. This being the minimum requisite Windows OS version to make use of this tool.
Besides, the computer should have an architecture of ARM, ARM64, x64, x86 to achieve the best experience.
Checking your Windows OS version: Navigate to Settings > System > About, and you can check which version of Windows your system is running under Windows specifications.
2. Supported File Systems
Windows File Recovery can effectively recover data from NTFS, exFAT, FAT (commonly used for SD cards and USB drives) and ReFS (Windows Pro for workstations and Windows Server) file systems.
3. Supported Drives and File Types
Based on the official description, the Microsoft file recovery tool can recover files from your computer storage (HDD and SSD), USB or Flash drives, and SD cards.
It can be used to recover photos, document files, videos, and so on.
4. Three Data Recovery Modes
The Windows data recovery software makes use of the "Default", "Segment" and "Signature" recovery modes to fit different scenarios. But which mode should you use? Well, that depends.
The Default recovery mode only works with NTFS system and is the fastest mode. Suppose you have deleted the files recently, go for this one.
The Segment mode also support NTFS system ony, but it will do a more thorough recovery on the drive and is therefore slower. This mode suits when you have deleted the files a while ago, or your drive is formatted or corrupted.
The Signature mode is the only mode that can be used with non-NTFS volumes and it can search for data by file types. It should be noted that the Signature mode also supports NTFS and can be used whenever the Segmented mode fails.
5. Where to Install Windows File Recovery?
Provided you have the prerequisite Windows version as stated above, you can proceed to Microsoft Store to download and install the Windows File Recovery tool.
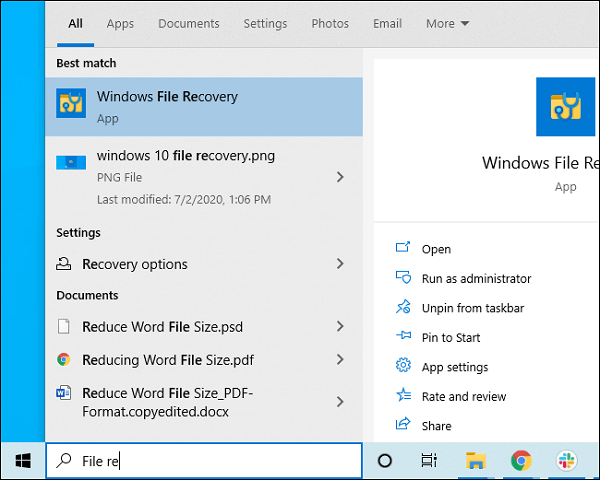
Once it's installed, click the Start button and search for "File Recovery". Locate the tool and launch it. You are ready for recovering deleted files on Windows 10.
Part 2: How to Use Windows File Recovery to Recover Deleted Files?
With the absence of a graphiccal interface, using the Windows File Recovery tool can be a bit tricky due to the technicality involved. However, it is no big issue provided you follow the steps below.
It is important to stop using the storage device that you want to recover data from immediately you notice the loss of data, so as to avoid files being overwritten.
Once you open the tool, it will display some usage instructions. The most important one being the winfr source-drive: destination-folder [/switches]. This usage instruction is the format you will need to follow to recover your lost files.
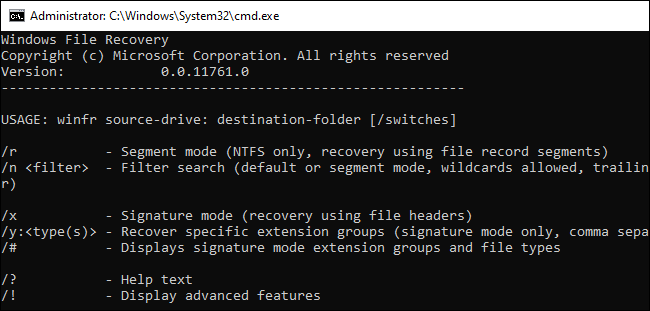
To make it easier to understand, suppose we want to recover data from the source drive F and store the recovered data on a folder named Recoveredfiles on the destination storage drive G.
1. To Recover Data Using the Default Mode
Type the command below and press enter:
winfr F: G:\Recoveredfiles
This command will search for all lost files on drive F and they will be restored to folder G:\Recoveedfiles.
2. To Recover Data Using the Segment Mode
Add /r switch to the Default mode example as shown below:
winfr F: G:\Recoveredfiles /r
This will save the recovered files on the destination folder while the files will be grouped into different sub-directories depending on their file types.
3. To Recover Data Using the Signature Mode
You just need to add the /x switch to the Default mode, for example:
winfr F: G:\Recoveredfiles /x
The instruction will help search files in NTFS, FAT, ExFAT and ReFS file systems and help recover them.
4. To Apply Filters and Search for Specific Files
The /y parameter allows us to recover specific extension groups, but it is for Signature mode only. For example, to restore only PDF and PNG files:
The /n parameter allows you to use wildcards, it is used in Default and Segment mode. For example, to recover files whose name has "project" and the extension is .docx, use the following command:
winfr F: G:\Recoveredfiles /x /y:PNG,PDF
winfr F: G:\Recoveredfiles /r /n *project* /n *.docx
There you go, how to use the Windows File Recovery tool depends on the modes and file types. More detailed information can be found on Miscrosoft's official WinFR page. I suggest starting with the Default mode and then try others.
Part 3: The Best Alternative to Windows File Recovery Tool
As you can see, the use of the Windows 10 file recovery tool is complicated and not friendly to non-tech-savvy people. Another downside is that it's only compatible with Windows 10 2004 and above. But what if you have a lower version Windows OS and need to recover important data?
This has brought the need for a simple and universal alternative, and there are none as effective as the AnyRecover data recovery software.
This hard drive recovery software works with Windows XP/7/8/10/11 and even the macOS system. It is extremely simple to use, requiring only three steps to recover your data from any storage device.
It just about solves all the problems of the Microsoft file recovery tool while offering more on the data recovery front.
![]()
2,061,704 Downloads
AnyRecover Key Features
Recovers data from any storage device ranging from laptop/PC to USB drives, memory cards, and external hard drives.
Supports over 1000 file types, including photos, videos, documents, emails, archives, and others.
Restores lost data regardless of the scenarios like accidental deletion, devices formatted, corrupted hard drives, virus attack, partition loss, and much more.
Its advanced algorithms and the deep-scan feature ensure a high data recovery rate.
Recover Lost Data with AnyRecover Easily
Below are the easy steps required to recover data with the AnyRecover software:
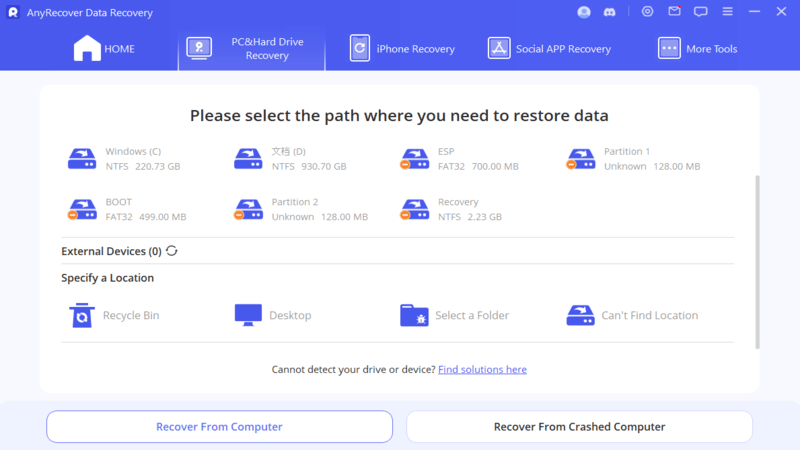
Step 1 Launch AnyRecover and Select Your Drive
First, download the AnyRecover software from the official website and install it, only a few minutes are needed. Then launch the software and select the computer storage or external drive you want to recover data from.
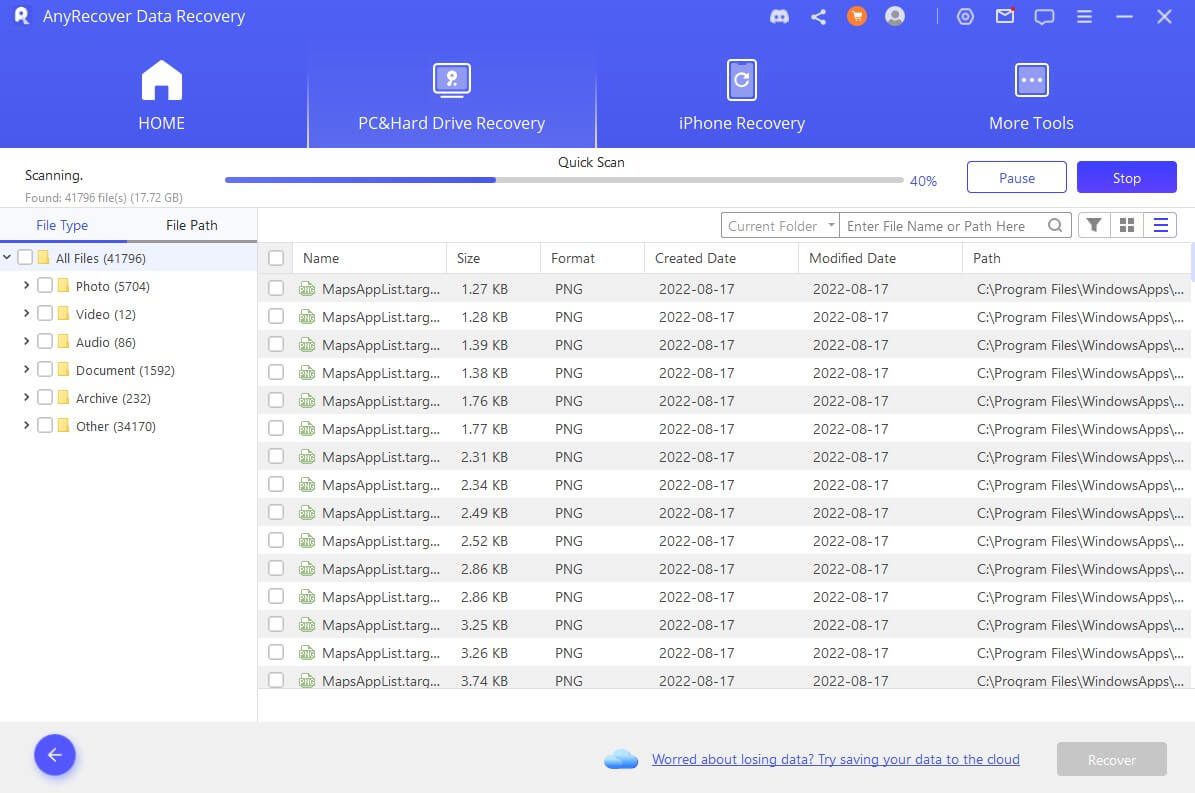
Step 2 Wait for the Scanning to Be Completed
AnyRecover will perform a deep scan on the drive to search for any lost data. There is nothing much you need to do in this step, just have a cup of coffee and wait for a while.
Step 3 Recover Lost Files
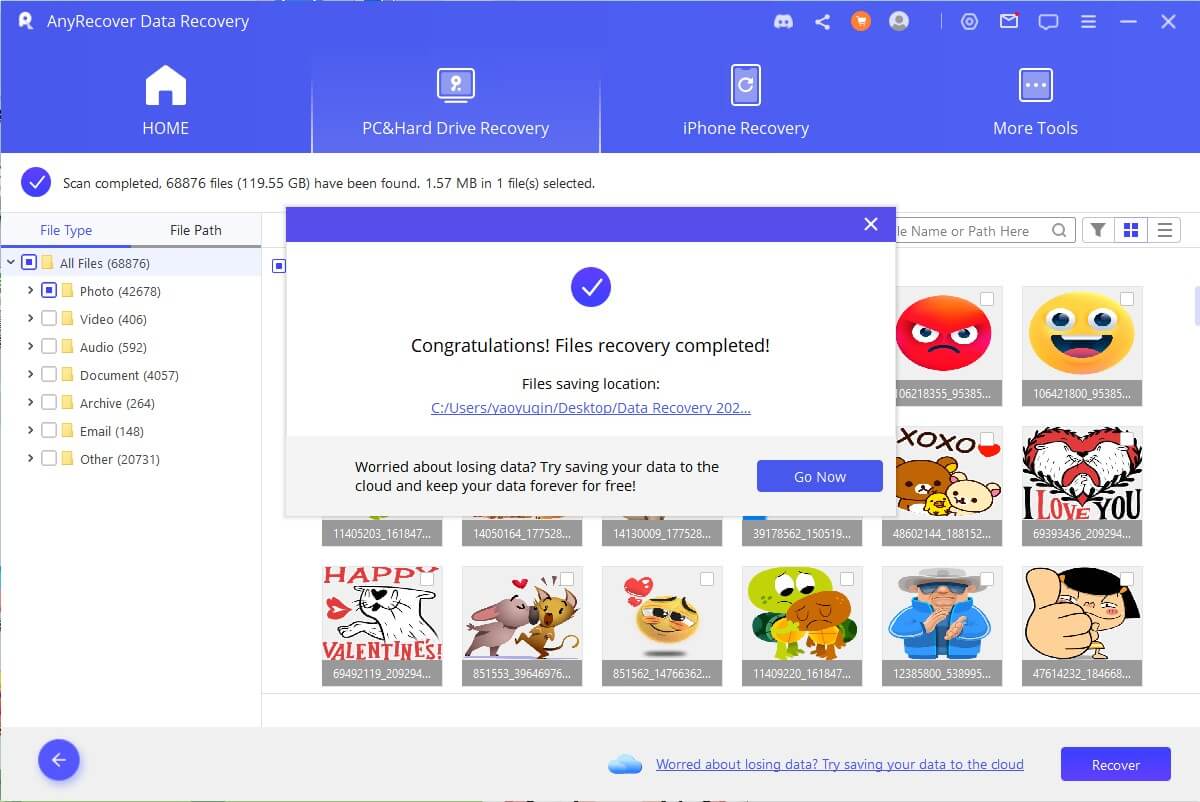
Look through the results and find the files you want (the File Filter feature helps a lot), then click on the Recover button to save your files to a safe location. You may also preview the files by double-clicking on them.
Conclusion
Data loss is inevitable on computers and this is why Microsoft came up with the Windows File Recovery tool. But there is a need for guidance on how to use Windows File Recovery as this tool is not user-friendly. That's why we write this detailed guide and we hope it helps.
The Windows File Recovery also has some limitations like difficulty to use and incompatibility with older Windows OS versions, hence the need for the ever-reliable AnyRecover data recovery software. This efficient data recovery program ensures you get your deleted data back successfully without any fuss.
Time Limited Offer
for All Products
Not valid with other discount *

 Hard Drive Recovery
 Deleted Files Recovery
