- Data Repair
- Data Recovery
-
Tips
-
 Hard Drive Recovery
-
Photo/Video Restoration
-
 Deleted Files Recovery
- Guide
- Support
- Shop
-
Search
- Store
Get Back Documents Folder Missing on Mac [Full Guide]

Documents folder gets missing on Mac is a common issue for those running macOS Monterey, Big Sur, Catalina, Mojave, High Sierra and earlier. The problem becomes hot after update Mac to the new version. If the folder goes missing, you may not be able to find most of your crucial files. This can be frustrating, especially if you are dealing with the issue for the first time. In this article, we will tell you why your Mac Documents Folder Missing. Apart from that, we'll show you all the effective solutions to accordingly.

Part 1. Can't Find Documents Folder on Mac, Why?
Can't find the Documents folder on Mac? The problem is generally caused by 3 main reasons. These are:
1. iCloud Syncing Issues
If you are using a recent version of macOS, it should have a feature that allows you to sync your Desktop and Documents folders to iCloud. This gives you the ability to access your files on all your devices. If the iCloud Drive syncing happens to have issues, macOS may remove the Desktop and Documents folders and store them on iCloud Drive only. In another word, your can't find the Document folder on Mac from Favorites. This could cause your Documents folder to disappear. In this case, you can directly go for Solution 1.
2. Accidentally Removed from Sidebar
If you have disabled the Documents option visibility on the sidebar, the Documents folder won't appear on it. While the folder will still be available on Mac, if you are used to finding it on your sidebar, you may think that you have lost it forever. In that it the case, you can directly go for Solution 2.
3. Documents folder missing from Mac Dock
If your Documents folder suddenly disappear from the Dock, you can go to Solution 3 and get it back.
4. Files Accidentally Deleted or Lost in Computer Crash
If any document files get missing due to a mistaken deletion or computer crash, now you will need a data recovery tool to help .
Part 2. 4 Solutions on "Mac Documents Folder Missing"
You can follow the detailed steps below to get your Documents folder back.
Solution 1: Disable Desktop & Documents Folders
When you enable this feature, all your files and folders will be uploaded to your iCloud Drive. However, once you want to disable this feature afterward, those files and folders won't appear in the Documents folder automatically. You need to copy them back manually. Therefore, if there is enough space in your local storage, it's recommended to turn off this feature.
Here is how to disable Desktop & Documents Folders feature and get your Documents folder back.
-
Go to the Apple Menu > select System Preferences > iCloud.
-
Click Options.
-
Uncheck the "Desktop & Documents Folders" option.
-
You may get a warning that the files present in the Desktop and Documents folders will be removed from your Mac and kept in the iCloud Drive. Hit the Turn Off button.
-
Now, the Documents folder should appear again in Finder. However, when you open the folder, it will be empty. To get the files back in the Documents folder, drag them from iCloud Drive into the folder.


Solution 2: Recover Disappeared or Missing Documents Folder from Sidebar
There is a possibility that the issue is not caused by iCloud, but by misoperation. If you accidentally removed the Documents folder from sidebar, it will disappear from the Finder. But don't freak out, the folder is only removed, not deleted.
Follow the steps below to get it back:
-
Open the Finder in your Mac computer and then select the Finder option from the menu bar.
-
From the Finder menu, select Preferences.
-
Hit the Sidebar tab. Next, tick the Documents option. This should restore the missing Documents folder.

Solution 3: Retrieve the Missing Documents Folder from Mac Dock
There is a possibility that the issue is not caused by iCloud, but by misoperation. If you accidentally removed the Documents folder from sidebar, it will disappear from the Finder. But don't freak out, the folder is only removed, not deleted.
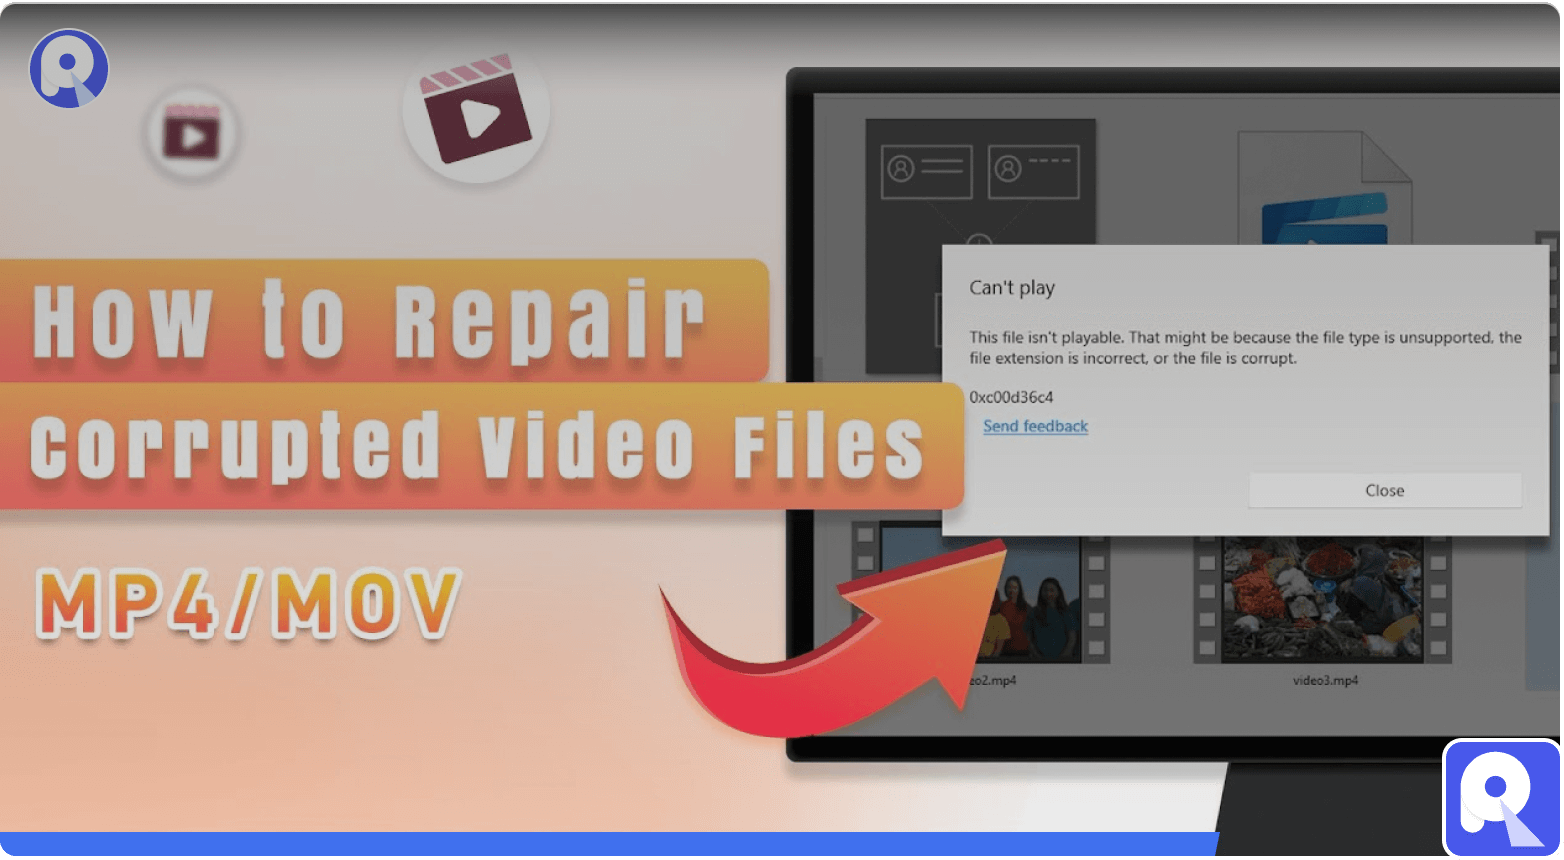
Solution 4. Restore Disappeared/Missing/Deleted Files with 1 Click
If all the methods mentioned above failed to get back your Documents folder on Mac, or they are complex to you, there is still a chance to get back your important files. Give data recovery tool a try.
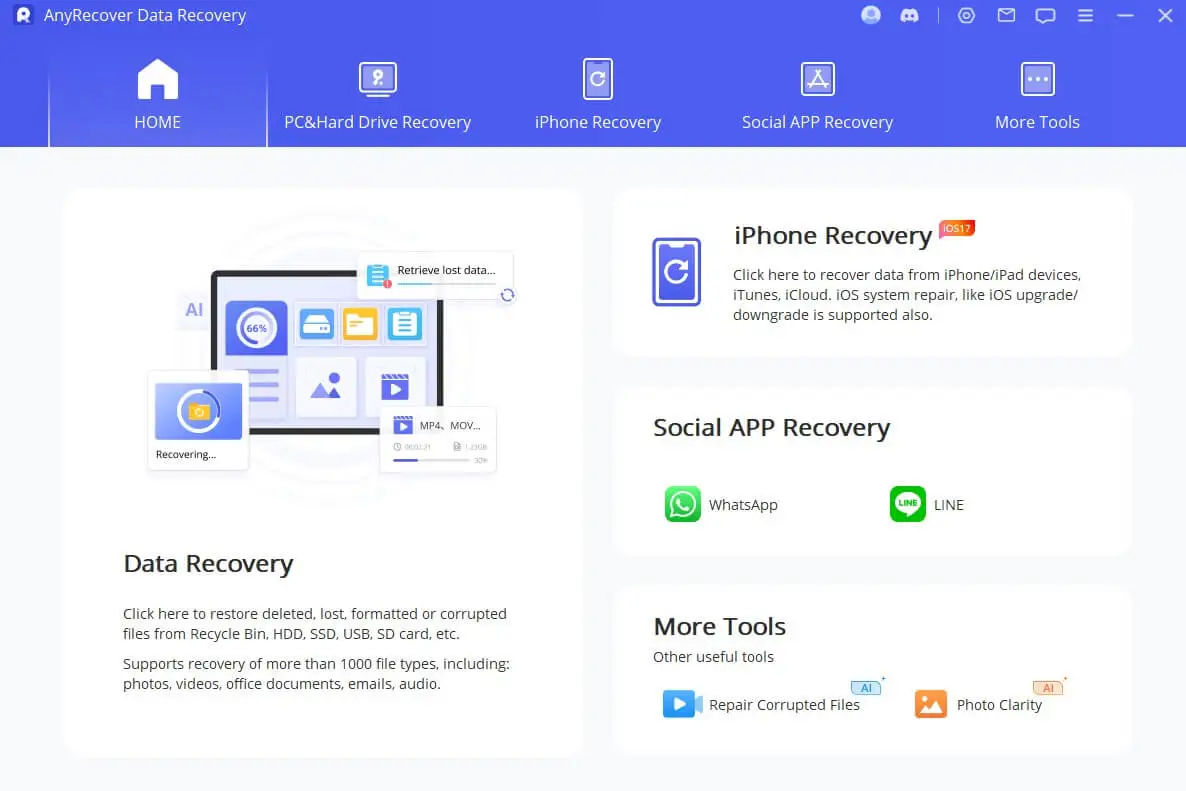
AnyRecover is a professional all-in-one data recovery tool that works efficiently to restore missing/disappeared/lost/deleted files or folder on Mac(M1/M2 supported), Windows and iPhone. It is simple to use and has been greatly trusted and recommended by its users.
AnyRecover Key Features Include:
- Get back the missing/disappeared/deleted files in Documents Folder from any circumstances,such as emptied trash, accidental deletion, partition error, system crash, formatted device, etc.
- User-friendly interface with simple operation, get back your missing files within 3 steps.
- Based on the advanced technology, all files can be recovered with high success rate.
- Supports recovering more than 1000 file types, including folders, documents, photos, videos, music, etc.
- AnyRecover supports all storage devices, including hard drives, flash drives, SD cards, memory card, etc.
- It is compatible with all Windows,macOS and iPhone versions including the Windows 11,Mac M2 and iOS16.
Step to recover desktop files disappeared Mac
step 1: Select a Location
step 2: Scan the Selected Location
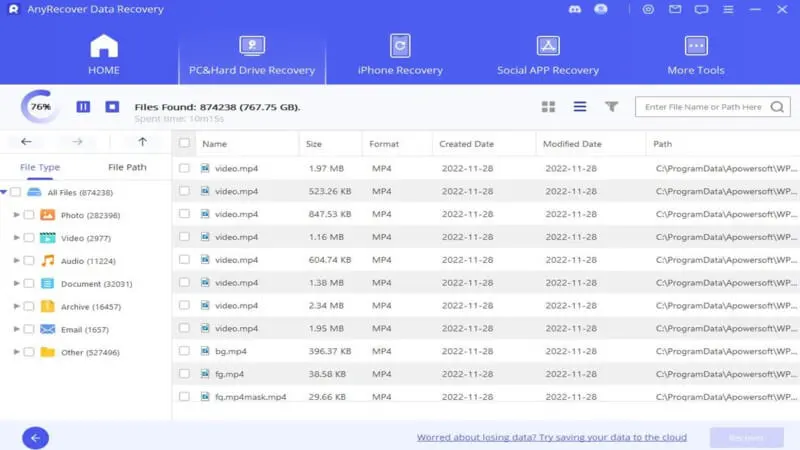
step 3: Preview and Recover Lost Files

Tips: Use Time Machine to Get Back Missing Documents Folder on Mac
If you have enabled the Back Up Automatically option in the Time Machine, then you can definitely restore the missing files from the Time Machine backup. Just follow the simple steps below:
-
Navigate to Apple menu and select System Preference.
-
Click to open Time Machine application. Check Show Time Machine in menu bar.
-
Click the icon of Time Machine in the menu bar and enter it. Now, you can choose a point of time to restore the files.

Conclusion
All the common methods have been introduced. The only advice that stops data loss issue would be keeping a back up consistently. It never hurts to have a backup to fall back on in the worst of cases.
We hope that the solutions above has assisted you in restoring your Documents folder that missing on Mac. At the very least, you now have a tool in your belt. AnyRecover can be a powerful tool when it comes to recovering any types of files you might lose.
Download AnyRecover today and enjoy your free trial!
Related Articles:
Rated successfully!
You have already rated this article, please do not repeat scoring!
![]()
![]()
![]()
![]()
![]()
![]()
![]()
![]()
![]()
![]()
![]()
![]()
Copyright © 2026 AnyRecover. All rights reserved.
Time Limited Offer
for All Products
Not valid with other discount *