- Data Repair
- Data Recovery
-
Tips
-
 Hard Drive Recovery
-
Photo/Video Restoration
-
 Deleted Files Recovery
- Guide
- Support
- Shop
-
Search
- Store
How to Remove Write Protection from USB on Windows 10/11

The process of formatting a USB device using your system is very easy. The best part is that this is one exercise that can enable you to store more files. It can also help to remove malware or virus from a USB device once done correctly. However, there are times such may not be easy given that you may receive a message saying that Windows can’t format USB device due to write-protection.
The major aim of this post will be to show you four methods of how to remove write protection from USB on Windows 10/11. You will be amazed at how easy this process can actually be.
Part 1: All You Need to Know About Write Protection
Write protection is a situation where you can’t modify or delete files that have been stored on your USB drive. It is a feature that is enabled when you don’t want your old files to be changed by accident in your USB drive. It can also be used in preventing the deleting of files accidentally from a USB drive.
Why a USB drive get write-protected?
There are some possible causes for this problem. Some of them will be highlighted below:
-
When your USB drive has been attacked by virus.
-
When the write-protection switch has been turned on. In this case, you only need to have it turned off.
-
Due to the security settings of your computer.
-
The USB drive has been set to Read-Only.
-
When your USB drive storage space is full.
Whatever the causes is, we will show you all the workable solutions to remove write protection from USB drive in part 2.
Part 2: How to Remove Write Protection from USB on Windows 10/11
1. Move the Physical Switch
In order to ensure data security, manufacturers would take that extra step in adding a switch to a USB drive. Once such switch is locked, formatting the device on any system will not be possible. Check the body of your USB flash drive in order to find out whether there is a switch. Once there is, have it turned off to format such device.
This is one of the easiest ways to solve any problem about how to get removed the Write Protection on your USB Windows 10/11.
2. Turn Off BitLocker
The encryption features of BitLocker will protect your files when it is enabled on your hard drive partition. If that is the case, you can remove the protection from BitLocker first:
-
Open File Explorer on your computer, find the BitLocker partition or USB drive and right-click on it, then choose Manage BitLocker.
-
Choose the partition, then click Turn off BitLocker.
-
Your BitLocker will then decrypt.

When all the above steps finished, you can manage data on your USB partition and save new files to it again.
3. Using Diskpart
One of the most effective and easy ways to get removed the write protection on your USB flash drive is the use of diskpart. All that is required of you is to understand the process properly.
Step 1: Get connected your USB drive to your system.
Step 2: Windows key and X should be pressed.
Step 3: Run should be selected.
Step 4: “Diskpart” should be entered after which you will then press OK.
Step 5: “List disk” should be entered next to “Diskpart>”. Enter should be pressed after that.
Step 6: Locate your USB drive amongst the various mounted disks and take note of its disk number.
Step 7: “Select disk disk_number” command should be entered after which you will then press on the Enter key. Your disk number noted in step 7 should be used in replacing the “number”. For instance, it could be select disk 2 once the drive number is 2.

Step 8: Once the disk has been selected, a message will be displayed in diskpart showing the disk has been selected.
Step 9: "Attributes disk clear readonly” command should be entered. After that, Enter should be pressed.
After the removing of write protection successfully, a message will be shown. Your drive can now be formatted.
4. Remove Write Protection from USB on Windows 10/11 with Regedit
Another method that you can use in removing write-protection on your USB drive is Windows Registry. This is a very effective method that can enable you to format your drive once again. Below are steps to use it.
Step 1: Get the drive inserted into your system.
Step 2: Windows key and X should be pressed.
Step 3: Have Run selected.
Step 4: Regedit should be entered after which you will select OK.
Step 5: Inside the Editor of Registry, go to HKEY_LOCAL_MACHINE > SYSTEM > CurrentControlSet > Control and finally click on StorageDevicePolicies.

Step 6: WriteProtect should be double clicked on for Edit Dword to be opened.
Step 7: Inside the text box (value data), zero should be used to change the number.

Step 8: OK should be selected.
Step 9: Regedit should be closed.
Step 10: Have your system restarted and you can now format such USB drive.
Part 3: How to Recover Data from USB after Removing Write Protection
Once you’ve succeeded in formatting your USB drive as shown above, files will be gone. The problem is that you could lose important files along with those that aren’t important. This is where you will need a data recovery tool such as AnyRecover. This tool will help to ensure that the process of recovering lost files from your USB drive is easy.
AnyRecover has got some really advanced features that will help you recover every file which you must have lost. This is one of the reasons why it tends to be getting very popular since it can meet the needs of users.
Key features include:
- Able to recover data lost due to virus/malware attack, hard drive formatting, system crash, lost partitions, accidentally deleted files and more.
- Any device is supported like USB drive, SD card, hard drives, camcorder, digital camera, external drives, and more.
- Data recovery is safe and fast, anyone can recover lost data by themselves.
- Over 1000 files are supported like photos, documents, videos, audios and more.
- AnyRecover offers a free trial that enables user to perform a deep scan, preview and recover.
Steps to Recover Data with AnyRecover
Using AnyRecover is a very easy and straightforward process. Below are some of the steps to follow.
Step 1 After downloading and launching the AnyRecover software, just select the device you want to recover data from, in this case, the formatted external hard drive.

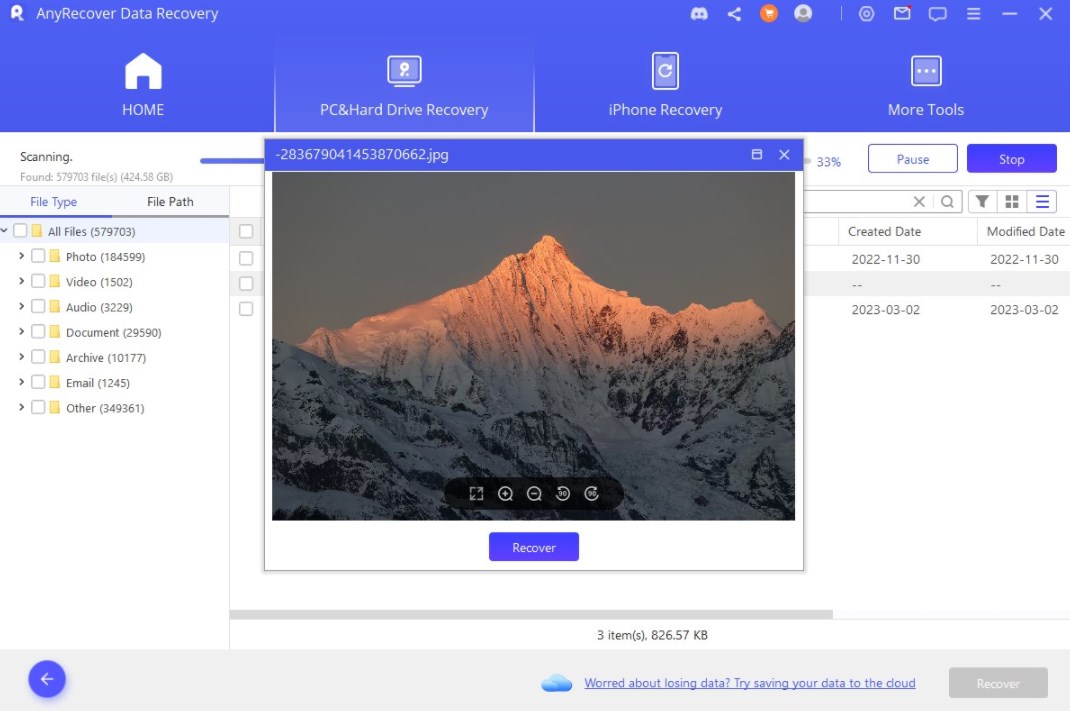
Step 2 AnyRecover will start a quick scan on the drive, and then deep scan to search for all lost data. You can also pause and resume the process anytime you want.
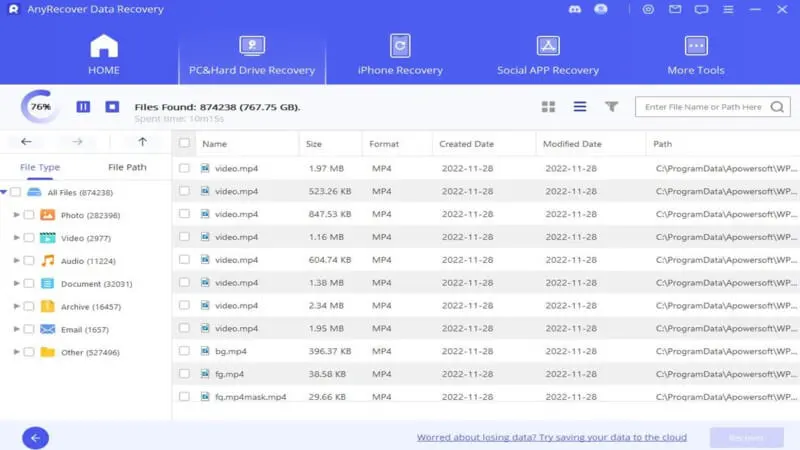
Step 3 All the found files will be listed. You may preview the content and choose what you want to retrieve, quick and somple.
Conclusion
Based on the above, it is obvious that the problem of how to remove write protection from USB Windows 10/11 can be resolved through various methods. Just choose one method that will be comfortable for you. However, don’t forget that you may lose some data when such USB drive has been formatted which makes AnyRecover useful.
Give Anyrecover a try and see if it is right for you!
Related Articles:
Rated successfully!
You have already rated this article, please do not repeat scoring!
![]()
![]()
![]()
![]()
![]()
![]()
![]()
![]()
![]()
![]()
![]()
![]()
Copyright © 2026 AnyRecover. All rights reserved.
Time Limited Offer
for All Products
Not valid with other discount *