- Data Repair
- Data Recovery
-
Tips
-
 Hard Drive Recovery
-
Photo/Video Restoration
-
 Deleted Files Recovery
- Guide
- Support
- Shop
-
Search
- Store
How To Fix Internet Recovery Mac not Working

Internet Recovery on Mac is a recovery option that has been available on Mac computers since 2012. With this tool, you can reinstall the first macOS version of your computer that came with it from the factory. It taps into Apple’s server and downloads the original version of the OS to be installed on your computer. Due to the usefulness of this tool, Mac users often feel frustrated when this tool does not functional well. However, this article provides a detailed guide on how to fix Internet Recovery on Mac not working. Read to know more.

Recover Data from Mac
To save your time, you can also immediately try using AnyRecover to Recover Data from Mac When Internet Recovery doesn't Work.
What’s the Difference between Mac Recovery Mode and Internet Recovery?
Mac Recovery Mode is another recovery program on Mac computers that loads in-built recovery tools and helps to reinstall Mac, repair or erase a hard disk, restore from Time Machine, and more. It is saved on Mac’s startup drive as a partition. If you need to reinstall your macOS, this program will help you reboot your Mac with the latest version of your OS. The difference between Recovery Mode and Internet Recovery Mode is that the latter reinstalls the initial macOS your computer came with. If your Mac Recovery Mode does not work, you make use of the Internet Recovery Mode.
For some reasons Mac Recovery Mode may not work because the Recovery partition is missing, the partition drive has been modified or partitioned with Boot Camp Assistant. In this case, some people may try Internet Recovery on mac, but what if Internet Recovery on Mac doesn’t work, either? Keep reading to find possible solutions.
What to Do If Internet Recovery Not Working?
This section takes a look at how to fix the Internet Recovery Mode not working.
Tip 1: Enter Internet Recovery on Mac in the Right Way
To access the Internet Recovery Mode, the steps are:
-
From the Apple menu, click on Restart.
-
While your Mac is booting, press and hold the Command + Option + R or the Alt + Option + R keys together before the Apple logo comes up.
-
Hold the keys down until a window Starting Internet Recovery comes up.
-
A Wi-Fi menu will appear. Click on the drop-down and then connect your Mac to a very stable network.
-
When your computer has connected to a network, the recovery system image will start downloading from Apple’s server directly.
-
The Mac OS X utility window will then pop up after downloading. From the menu, select the recovery option that you want.

Tip 2: Check the Network Connection
Since this is Internet Recovery Mode and involves connection to and downloads from a server, it requires an internet connection via Wi-Fi or a wired connection. While using this recovery mode, if you want to achieve the best possible results, connect your computer’s internet access via an Ethernet Cable, and depend on the speed of your internet connection, this entire process can take about 5 minutes. If you do not use a good network and develop internet connectivity issues, then the recovery process might get stuck and not complete successfully, which could lead to loss of data on your Mac.

Tip 3: Check the Keyboard if Internet Recovery Mode is not Working
One thing to also look out for is to make sure that the keyboard is working properly because if the keyboard is faulty, you will not be able to access the Internet Recovery Mode with the shortcut keys. You will also not be able to perform the macOS reinstalling completely because you require the keyboard to install or reinstall. You’d better to use the original keyboard or the one that Apple certifies, or it may fail to connect to the Apple Server and thus leads to Internet Recovery on Mac not working issue. You can also connect the keyboard to another computer to check if it is working or not.

Tip 4: Create the Bootable Installer Using Terminal App When Internet Recovery not Working
Another solution that is worth looking at is to create a bootable installer using the Terminal App. Creating the bootable installer has become easier because it now requires a single command in the Terminal App. With the createinstallmedia command, you can make the bootable installer copy on any drive connected to your Mac. The steps involved are:
Step 1 Format the USB Drive as Mac OS Extended
-
Plug an external hard drive into your Mac computer.
-
Then open Disk Utility. If your Mac runs macOS High Sierra or a later version, then click on the View option and choose Show all Devices from the options presented to you. You can now view the external root drive alongside the volume.
-
Then choose the root drive in the sidebar and click Erase. Then choose macOS Extended as the format, and the scheme should be GUID Partition Map.
-
The drive’s default name will be Untitled, but you can choose to change the name.
-
Ensure to click Erase again, and then wait until Disk Utility has created the partition successfully and set up the drive. Later on, click Done.
Step 2 Create the Bootable Installer
-
Open the Terminal App on your Mac, copy and paste the createinstallmedia text corresponding to your macOS version.
-
Click Enter/Return and enter your password, then press Return on your keyboard again. (Terminal doesn't show any characters as you type your password.)
-
Press Y to confirm that you want to erase the volume, then press Return.
-
Click OK to allow the Terminal to access files on the drive.
-
After a few minutes, you can see Terminal finishes the process. You’re all done now!
Step 3 Use the Bootable Installer
-
Plug the bootable installer into the Mac and ensure the device is connected to internet.
-
Restart the Mac and immediately press and hold the Option/Alt key.
-
Release the key when you see your bootable volumes.
-
Choose the one with bootable installer and press Return.
-
Select Install macOS and then Continue.

Here are different createinstallmedia command for various versions of macOS (replace “MyVolume” with the name of your external drive):
-
Big Sur: sudo /Applications/Install\ macOS\ Big\ Sur.app/Contents/Resources/createinstallmedia --volume /Volumes/MyVolume
-
Mojave: sudo /Applications/Install\ macOS\ Mojave.app/Contents/Resources/createinstallmedia --volume /Volumes/MyVolume
-
High Sierra: sudo /Applications/Install\ macOS\ High\ Sierra.app/Contents/Resources/createinstallmedia --volume /Volumes/MyVolume
-
El Capitan: sudo /Applications/Install\ OS\ X\ El\ Capitan.app/Contents/Resources/createinstallmedia --volume /Volumes/MyVolume --applicationpath /Applications/Install\ OS\ X\ El\ Capitan.app
Tip 5: Reset NVRAM, PRAM, AND SMC for Internet Recovery Mode not Working
If, after going through those steps above, the internet recovery process is still unable to complete, then try resetting your Mac settings.
To reset NVRAM and PRAM:
-
Turn off your Mac computer.
-
Press the Power button and then press the Command + Option + P + R keys immediately and hold them down.
-
After about 20 seconds, release the keys while the Mac is starting up.
To reset SMC:
-
For an iMac or Mac mini, first shut the system down and then unplug the power cable. After waiting for 15 seconds, plug the power cable back in. Wait for another 5 seconds, and then turn your Mac on.
-
For a MacBook Air/Pro without the T2 security chip and a non-removable battery, shut down the system. Then press the Shift + Control + Option + Power buttons down for 10 seconds. Release the keys and then turn your Mac on normally.
-
For a notebook computer with the T2 chip, shut the system down and press the Power button down. Release it after 10 seconds and wait for a few more seconds before turning on your Mac.
-
For a notebook computer with a removable battery, shut the computer down and then remove the battery. Press the Power button down for 5 seconds. Then place the battery back and turn your Mac on.
Part 3: How to Recover Data from Mac When Internet Recovery doesn’t Work
When there are some issues on your Mac, you can repair the device with Internet Recovery. However, as mentioned above, the Internet Recovery sometimes may not work. And your data is very likely to be damaged at this time. So how to recover the data lost due to Internet Recovery not working? To be able to carry out this process, you need the AnyRecover. This software is the professional data recovery software designed to help iPhone, Mac and Windows users recover deleted and lost files with over 1000 file formats supported

Key Features:
- File Recovery: recover over 1000 types of file formats, including photos, videos, documents, and audio files.
- Preview Function: The software offers a preview function that allows users to preview recoverable data before they make any purchases.
- Quick Scan and Deep Scan: Quick Scan is used for scanning for recently deleted files, while Deep Scan is used for scanning for more difficult to recover files.
- Partition Recovery: AnyRecover has a partition recovery feature that allows users to recover data from deleted or lost partitions.
- Virus Attack Recovery: making it a useful tool for users who have been affected by malware or other types of computer viruses.
- User-friendly Interface: it is easy for users to navigate and recover lost files.
Here is the steps involved in recovering data:
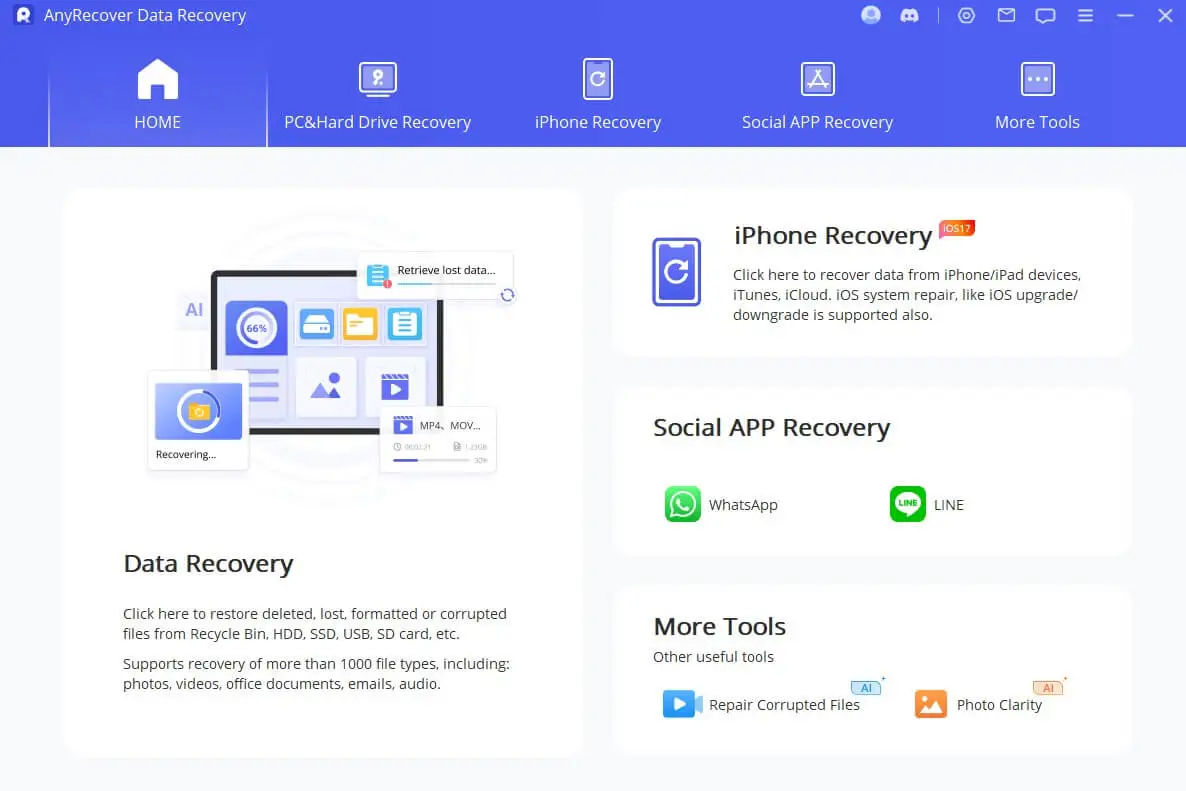
Download and install AnyRecover on your Mac and then launch it. Select the location you want to recover data from on the main interface and click Start.

AnyRecover will begin scanning the location you choose and then show you the real-time results. You can pause or stop the process at any time you want.

Double click the file to preview and then choose Restore to finish the recovery process.

Conclusion
If you need to make use of the Internet Recovery Mode and it ever gets stuck, simply follow the methods listed in this article to resolve this problem. Most importantly, if you want to restore the data lost in this process, opt for the all in one recovery tool for Mac users, AnyRecover data recovery tool. It helps you restore your data with ease!
Related Articles:
Rated successfully!
You have already rated this article, please do not repeat scoring!
![]()
![]()
![]()
![]()
![]()
![]()
![]()
![]()
![]()
![]()
![]()
![]()
Copyright © 2026 AnyRecover. All rights reserved.
Time Limited Offer
for All Products
Not valid with other discount *