- Data Repair
- Data Recovery
-
Tips
-
 Hard Drive Recovery
-
Photo/Video Restoration
-
 Deleted Files Recovery
- Guide
- Support
- Shop
-
Search
- Store
[2024] 2 Ways to Format USB Flash Drive to FAT32 on Mac

USB flash drives are one of the most common storage devices around. They're small, affordable, and can be used with any computer. But sometimes they can't be read by your computer because it's not formatted to the right file system.
The most commonly used file system for USB drives is FAT32. Therefore, we will walk through two effective methods to format USB drive to FAT32 on Mac with step-by-step guide.

Part 1. How to Format a USB Flash Drive to FAT32 on Mac
Formatting wipes all data from the device and sets up new parameters for it like file system, partition size, etc. When we format a USB stick or external hard disk, we're setting its file system, partition size, label name (if applicable) and other additional parameters.
To properly format your USB drive to FAT32 on a Mac, be sure to mirror these following steps as precisely as possible.
Method 1—Using Disk Utility
Disk Utility on Mac is a system utility application used for disk and disk volume related operations, like formatting any USB flash drive to a new file system. When using this method to format USB to FAT32 on Mac, Disk Utility will wipe all your preexisting data, so be sure to first back up the contents of your flash drive into another safe storage system before proceeding.
Following are the steps to format USB to FAT32 on Mac using disk utility:
Step 1. Connect your USB drive to your Mac using an available port
Step 2. Open Finder in the upper right-hand corner of your Mac desktop screen
Step 3. Go to Applications > Utilities > Disk Utility
Step 4. Select your USB drive in the list on the left, and click Erase.

Step 5. Give this disk a name to make it more easily identifiable
Step 6. Choose MS-DOS (FAT32): as well as GUID Partition Map
Step 7. Click Erase one more time

Method 2—Using Terminal Command
The next method, using Mac's Terminal application to format USB to FAT32, also utilizes Disk Utility but is just facilitated through manual input instead of using the Disk Utility application directly. Like the previous method, Terminal will wipe the data stored on your USB flash drive. So make sure to back up all data before starting.
Follow the steps below to format USB to FAT32 on Mac using terminal command:
Step 1. Connect your USB drive to your Mac using an available port
Step 2. Either click on the Spotlight icon in the upper righthand corner, or press Command + Space
Step 3. Enter 'Terminal' into the search bar

Step 4. Type in 'diskutil' and select the name of your USB drive. Then type in 'sudo diskutil eraseDISK FAT32 MBRFormat/dev/disk2'

Step 5. And that's it! After an on-screen message indicates the FAT32 formatting process is complete, you're all set.
Part 2. Recover Lost Data from USB Flash Drive on Mac After Formatting
If you formatted USB to FAT32 on Mac before saving backup of the original files stored on your USB flash drive, don't panic! AnyRecover for PC/Hard Drive is a top-tier data recovery tool that can restore lost data of any form in seconds on Mac with just a few simple steps. Whenever you need to recover lost data from formatted USB, or any other storage devices like hard drive and SD card, AnyRecover has your back.
AnyRecover Key features include:
- Various data loss scenarios: recover lost data in almost all data loss scenarios, like deletion, formatting and so on.
- High success rate: all-round and deep scan makes it possible to dig out lost data.
- Fast scanning speed: get your data back just in seconds.
- Perfect compatibility: support 1000+ file types and a full range of storage devices.
- Highly cost-effective: budget-friendly compared with other tools and free trial is available.
Once you've installed the AnyRecover data recovery program to your computer, all you have left to do is to follow these simple steps toward the successful recovery of your lost data:
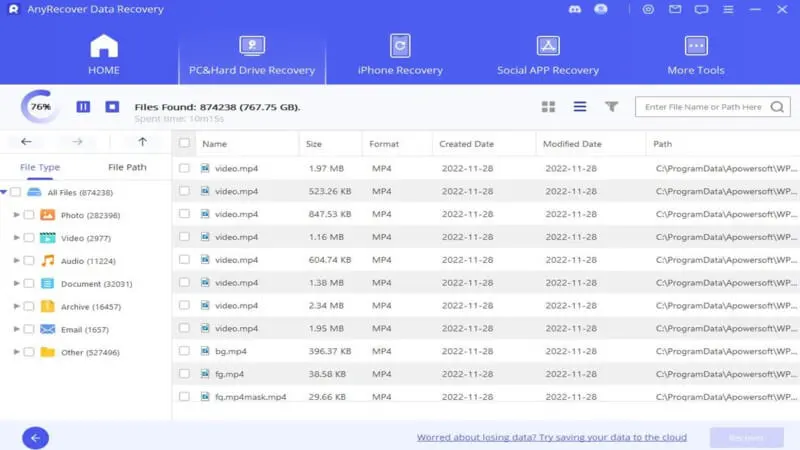
Step 1. Launch AnyRecover and select the location where you want to recover the data.

Step 2. The program will start an all-round and deep scan of the selected location.
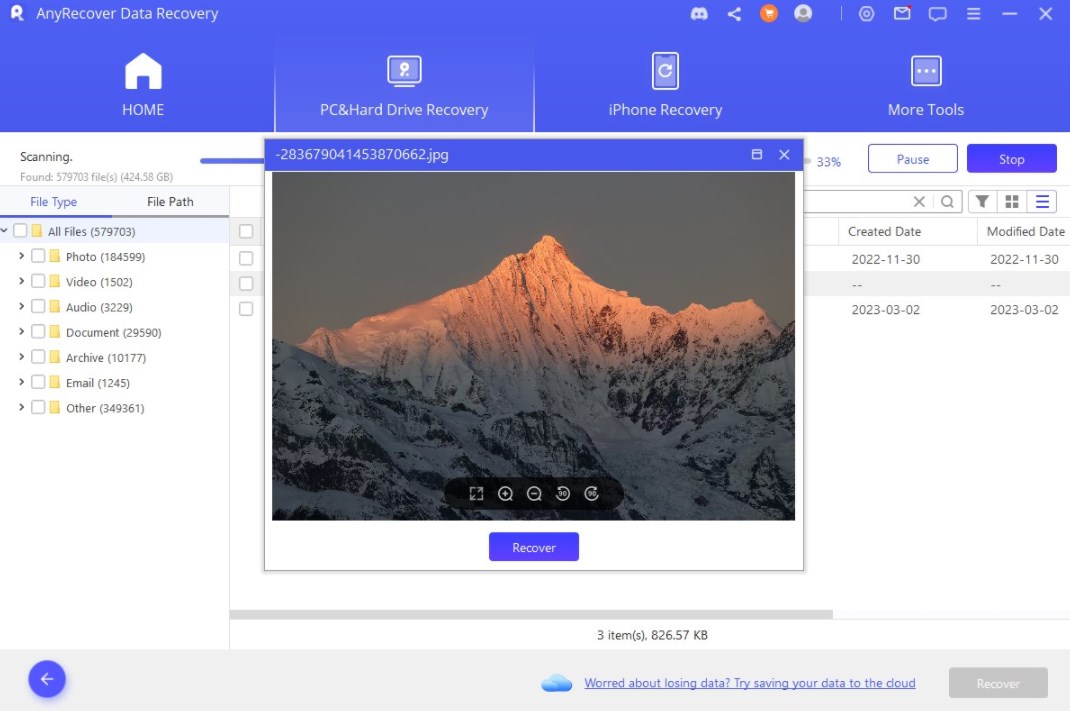
Step 3. Double-click on a file to preview it, click the Recover button and save it to a safe location.
EAQs About Formatting USB to FAT32 on Mac
Why is Formatting a USB Flash Drive on a Mac Necessary?
In general, there are two purposes to format USB. The first is to permanently delete credential files. The second is to fit a new system.
Formatting will change the way that data is stored and organized on your device so that you're able to use it more efficiently. A file system is a set of rules that defines how data on a hard drive is organized and accessed. It also determines which type of files, such as programs or images, can be stored in certain folders. Without this kind of structure to organize all these individual bits of information, it would be difficult to find anything on your Mac.
So, whether you're looking to format your USB drive because it contains confidential information, or you've just downloaded a new operating system and want to install it on your device, formatting is necessary for the computer to be able to recognize and read data from the external device.
What Is FAT32?
The "FAT" in FAT32 stands for File Allocation Table, or in other words, the table that your USB flash drive's central operating system keeps on its hard disk. It serves the purpose of mapping its area of data storage. FAT32 is the closest available options on the market to a universal file format.
Why Choose FAT32 as the Format?
Introduced in 1995 as a Windows upgrade from the FAT16 file system, which could only support partitions up to a mere 2GB in size, FAT32 is one of the oldest versions of a filing system available. Given how long FAT32 has been around, it's well-known as a default feature, which is why most USB flash drives have FAT32 formatting capabilities for maximum compatibility across all devices, old and new (as long as they have a USB port.) FAT32 is also a popular format choice because it can maintain large disk partitions—up to two terabytes!
One thing to keep in mind when using an FAT32 format for your USB flash drive is that FAT32 cannot support file sizes larger than 4GB. Therefore, while FAT32 may be the more universal formatting option for your USB flash drive, if you intend to store rather large files or comprehensive projects on your USB, you may want to opt for exFAT formatting.
Conclusion
Formatting will change the way that data is stored and organized on your device so that you're able to use it more efficiently. FAT32 is the most universal format filing system available. Therefore, it's necessary to format USB to FAT32 on Mac. However, formatting wipes all data from the device to set up the new parameters for the file system, which means you might lose some data in the process.
If unfortunately, you've forgotten to back up your data, AnyRecover provides an easy-to-use way for users to recover lost data from formatted USB flash drives. The whole process is as simple as plugging in your device and following our step-by-step instructions. If this sounds like something that interests you, please don't hesitate to try AnyRecover for free right now!
Rated successfully!
You have already rated this article, please do not repeat scoring!
![]()
![]()
![]()
![]()
![]()
![]()
![]()
![]()
![]()
![]()
![]()
![]()
Copyright © 2026 AnyRecover. All rights reserved.
Time Limited Offer
for All Products
Not valid with other discount *