- Data Repair
- Data Recovery
-
Tips
-
 Hard Drive Recovery
-
Photo/Video Restoration
-
 Deleted Files Recovery
- Guide
- Support
- Shop
-
Search
- Store
Erase Process Has Failed on Mac [Full Guide]

![]() Duncanthos
Duncanthos
I want to erase a partitioned (and fairly new) external HD, using Disk Utility, so I can repartition it. I've clicked "Show all devices", selected the HD (as opposed to the individual partitions), gone with the default format (Mac OS Extended (Journaled) and scheme (GUID Partition MAP), and clicked Erase. DU tries erasing, then tells me "Erase process has failed. Click Done to continue." How do I sort this?
From Apple Community
Mac computer makes life easier from various aspects: education, recreation, work, etc. But sometimes things go south unexpectedly. For instance, if you try to format a corrupt USB, SSD, or any other kind of storage device using a Mac, you may encounter an error reading "Erase process has failed." It may be quite confusing and frustrating.
If you're reading this article, your Mac has likely crashed or is showing this error, and the erase process has failed. You may be freaking out right now, but don't worry. This blog post will give you some information about it and the commonly workable tips on fixing the 'Erase process has failed' issue.

Part 1. Why Does the Error Erase Process Has Failed Occur?
It's common to come across this error if you are trying to erase a USB flash drive or an external hard drive on your Mac in the Disk Utility app. While it's all entitled "Erase process has failed. Click Done to continue", the details of this error vary depending upon the type of format that you are trying to erase like "couldn't unmount disk", "couldn't open device". In addition,this error shows alongside an icon of an internal SSD along with a red caution sign on the screen in the Disk Utility window.
Most of us aren't tech-savvy, so you might be asking yourself, what does this error actually mean? Well, this message is displayed when an attempt to erase a data storage device has failed because of hardware problems or other complications. This error is also typically caused by a software conflict or an issue with your hard drive. Below are some of the most common reasons:
1. Corrupt Hard Disk: The hard disk or the areas that you are trying to erase or format on your hard disk are corrupt.
2. Virus or Malware The external storage device or the flash device is infected with malware. This issue could also occur with the hard drive on your Mac.
3. Unstable Connection The external storage drive may not be connected or plugged in properly. Unstable connection may cause the erase process to terminate midway, thereby showing the "Erase process has failed" error on Mac.
4. Outdated Software The USB device drivers may be outdated or your Mac may be running on an older version of macOS.
5. Incomplete Formatting Process The formatting process may have been terminated or canceled midway due to any issue, or the storage device has been plugged out before the formatting could be completed.
Regardless of the causes above, if this error message shows on your Mac, do not panic and keep on reading through the following fixes to keep your data safe from harm!
Part 2. Fix: Solutions to Erase Process Has Failed Issue
1. Erasing the Disk via Terminal
To avoid getting that error, you can try formatting or erasing your device via Terminal. Hopefully, this will resolve the issue quicker than other techniques.
Step 1. First, go to Finder > Applications > Utility. Launch the Terminal app as an administrator. Then type the command "diskutil list" and press return.
Step 2. From here, note down the disk you wish to format.
Step 3. Use the "erase disk" command to erase the entire disk. Your selected disk would be formatted in the supported file system.
2. Update the macOS
The Disk Utility "Erase process has failed" error can also stem from the outdated MacOS, therefore you can try to update your macOS to fix the issue.
The most recent update for macOS can be found in the App Store. You may also check for updates by clicking on the Apple logo at the top of the screen, then going to System Preferences > Software Update.

3. Adjust the Security Levels for External Storage Devices
If you are getting a macOS "Erase process has failed" error while formatting an external device, follow the steps below.
Step 1. Connect the external storage device to the Mac and launch the Disk Utility application.
Step 2. Select the external device from the sidebar and click on the Erase > Security Options.
Step 3. Now adjust the security level for formatting the external device on low.

Tips: How to Recover Lost Data From Formatted Device
Many of us encounter data loss issues at times. Maybe you have accidentally formatted your device while fail to back it up before, or maybe your device get formatted by mistake and all your data is gone. Is this really the end of your data? Of course not. Is there any way to get the lost data back? Yes, luckily the answer is positive.
You can recover lost data from even formatted device with the best data recovery tool ever - AnyRecover. Now let's check the key features of it in detail to know more about the data master. A comprehensive solution to recover lost data in almost all scenarios: emptied recycle bin, accidental deletion, computer crash, formatted device, etc.
AnyRecover Key features include:
- Support 1000+ file types (photos, videos, office documents, etc.) and a full range of devices (hard drives, USB flash drives, SD cards, SSDs, etc.).
- Retrieve lost data within 3 simple steps, requiring no technical knowledge.
- Dig out and recover all the lost, deleted, or inaccessible data with the all-round and deep scan feature.
- Preview data before actually recovering it, making sure what is lost can be restored.
- Free trial is available for every new user.
Guide To Using AnyRecover
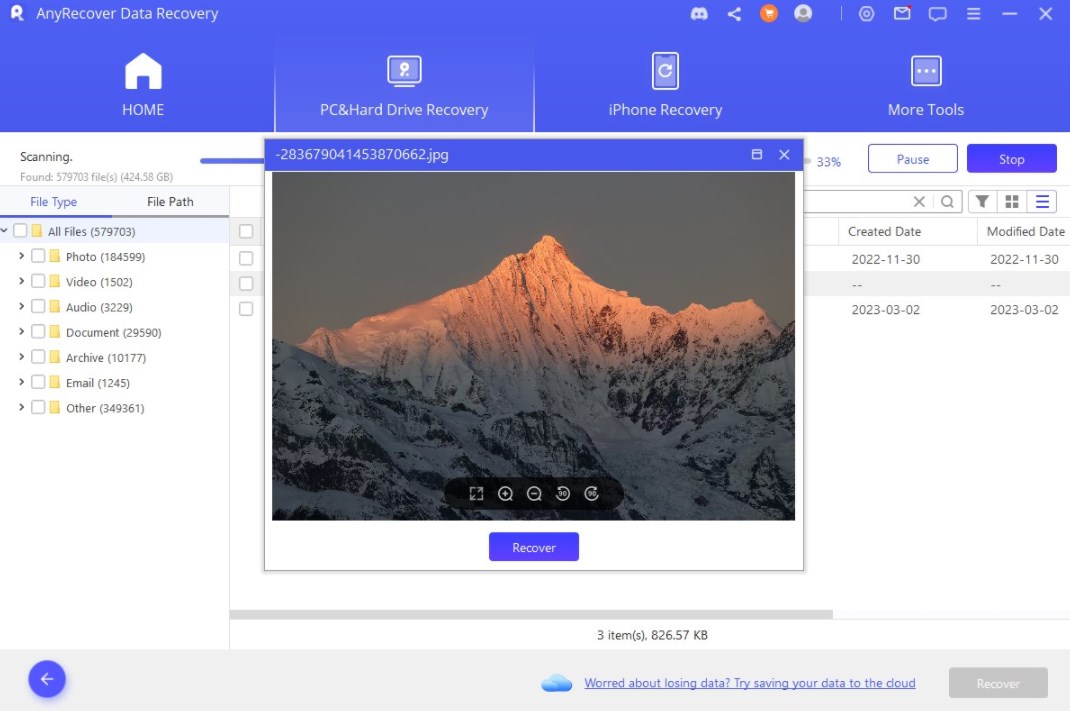
Step 1. Download and install AnyRecover. After the software installation, launch it and select the location where you want to recover the data.

Step 2. The program will start an all-round and deep scan of the selected location.
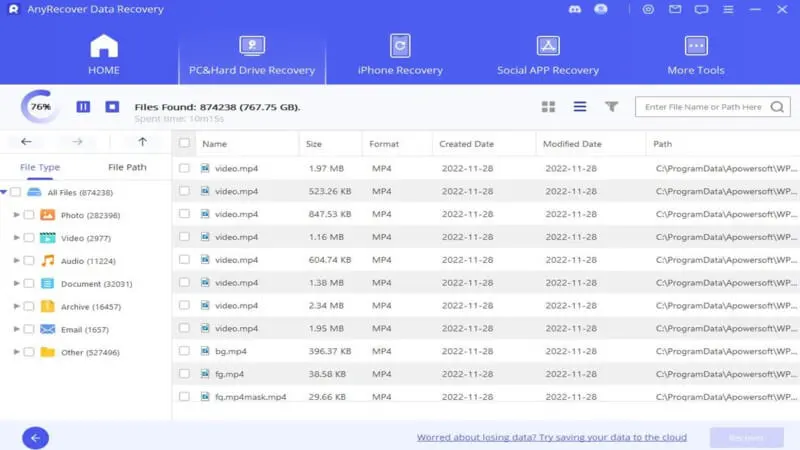
Step 3. Double-click on a file to preview it, click the Recover button and save it to a safe location.
Conclusion
All the fixes and tips in this article will suffice to help you resolve that pesky "Erase process has failed" error on your Mac. If for any reason, your precious data is lost or erased, then the best way to recover data is using AnyRecover data recovery software. With extremely high success rate and simple steps to operate, AnyRecover suits everyone when it comes to recovering lost data at home.
Rated successfully!
You have already rated this article, please do not repeat scoring!
![]()
![]()
![]()
![]()
![]()
![]()
![]()
![]()
![]()
![]()
![]()
![]()
Copyright © 2026 AnyRecover. All rights reserved.
Time Limited Offer
for All Products
Not valid with other discount *